For years, I’ve been looking for a cheap volumetric lighting solution. At long last, I’ve found something that doesn’t just run fast, but looks stunning and runs completely in realtime.
This blog post is intended as a dense overview of a naïve implementation. This blog post does not cover all aspects of making a production-ready volumetric fog system for Roblox, as that would be far too broad. Instead, this post focuses on the crux of the technique - the key elements that make it what it is.
Inspiration
I was originally inspired by the volumetric fog implementation used in the Source 2 engine, most notably for Half Life: Alyx. Being a VR game, their volumetric fog solution couldn’t be too expensive, so rather than opting for expensive ray-tracing methods, they employed a camera-aligned froxel grid system where nearby lights could populate the froxel grid with lighting information, later resampled as part of a post processing step to collect information about light scattered into the light path of a pixel.
Their results looked quite pleasing, aside from some aliasing artifacts from the finite resolution of the froxels and a short-lived gap in the lighting when snap turning.
The idea
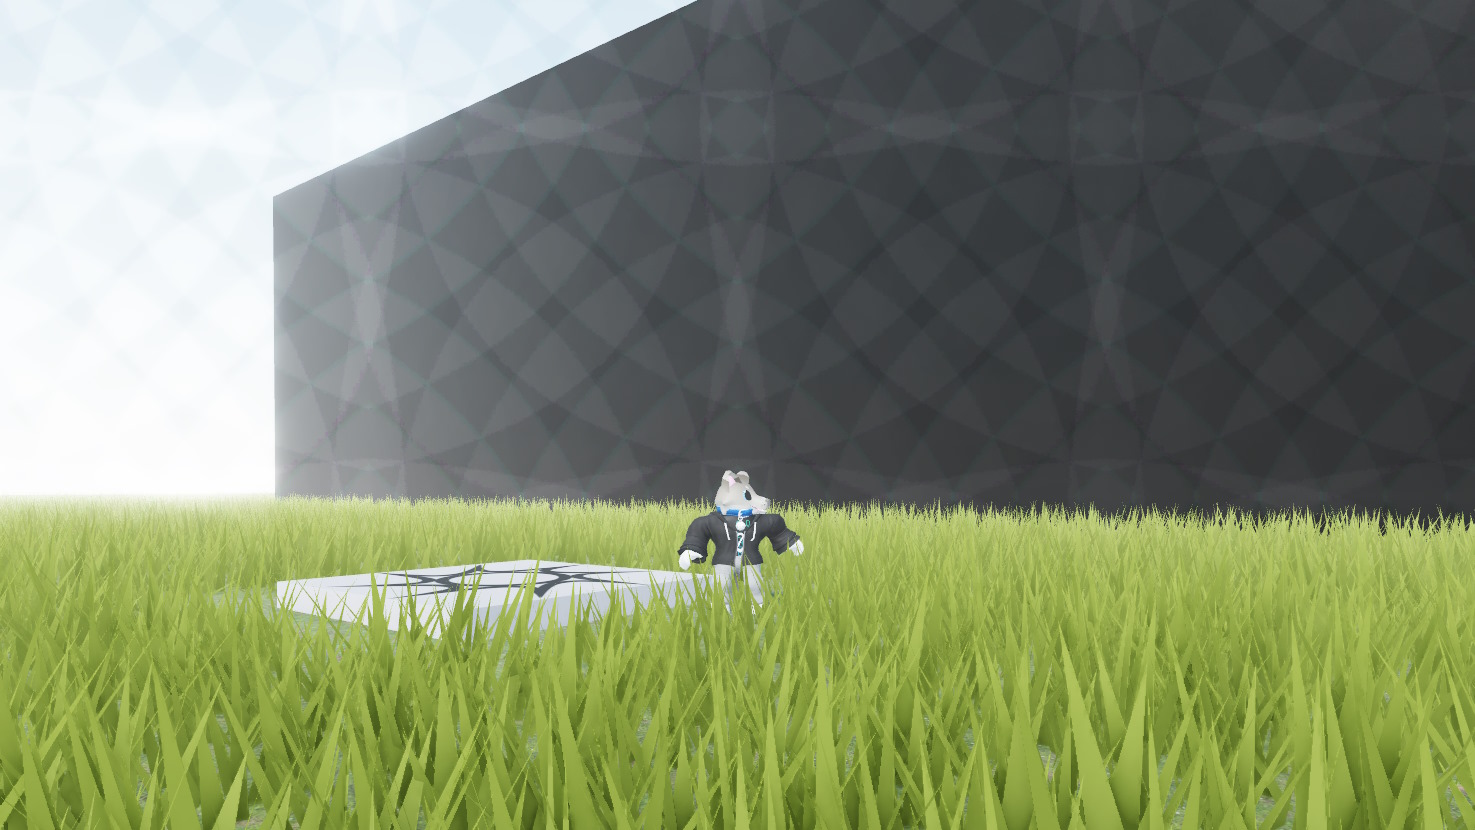
Roblox already implements a volumetric lighting system, but it doesn’t render it to the screen as fog. Instead, it uses it as a high-performance option for approximating realtime lighting on objects. This has existed in the engine for years and has been implemented across mobile, desktop and console:
This data structure already stores volumetric information about lights, albeit at a low resolution compared to modern volumetric lighting standards. Ideally we would resample this data structure to collect information about in-scattered light, however Roblox does not support user shaders or custom post processing effects of this nature. Instead, we’ll need to use existing engine features to somehow sample the colour of the lighting throughout 3D space, and somehow accumulate that on-screen to represent the in-scattered light.
Voxel resampling and integration
The first problem to solve is simple - how do you sample the voxel grid?
Prior experimental solutions often use a stack of translucent planes to act as shadow catchers, usually either by layering parts or creating layered meshes.
This is a terrible idea. It’s true that the end result looks pretty, but this bleeds your framerate dry due to Roblox simply not being designed to handle that sort of thing. It’s overdraw at its very worst, and matters aren’t helped here by the way these surfaces catch shadows - by using the highest quality lighting engine available. This is a recipe for disaster.
However, it’s not entirely terrible. The idea of subdividing a volume into planes of shadow catchers has precedent in the real world, perhaps most obviously in Blender’s realtime volumetric lighting solution for Eevee:
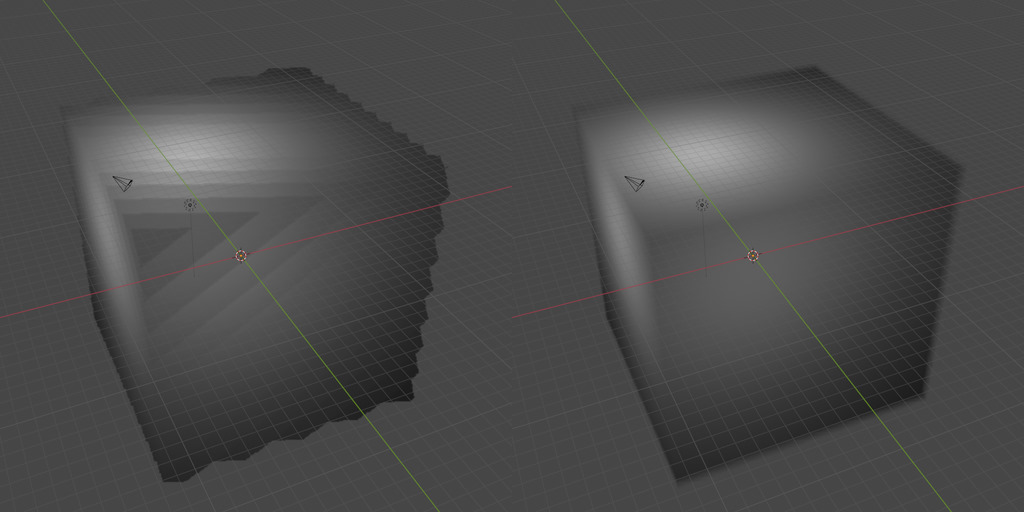
In the limit, this is equivalent to integrating the lighting over the whole volume. We’re performing a finite approximation of that integral by point sampling along a single axis. Indeed, Eevee’s approach is to accumulate point samples at various depths and average them out to create a gradually-refining approximation of the true value of the lighting.
For this reason, I decided to start by thinking about a froxel grid. The idea was to point sample the voxel grid from the centre of each froxel, and recast the sampled lighting information throughout the entire froxel. For this to work, we would need a low-quality light catcher positioned at the centroid of each froxel, which forms the projected shape of the froxel as seen from the camera when recasting light.
That last step luckily isn’t tricky, because given that Roblox uses a simple perspective projection, all cross-sections of a camera aligned frustum - when projected to the screen - share the exact same rectangular shape. This means a camera aligned froxel grid in 3D space projected onto the screen appears as a multi-layered uniform grid, due to cancelling out the foreshortening effects of perspective projection. Thus, any such light catcher need only be a camera aligned quad, so long as we do not expect to decouple the frustum from the camera.
Sacrificing control for light catching optimisations
The next step is to decide on a light catching mechanism. Any remotely heavy
instances such as handle adornments or surface GUIs were immediately ruled out.
That left such instances as Beam and ParticleEmitter, intended for simpler
visual effects. Of these, I chose ParticleEmitter to take advantage of engine
optimisations related to the positioning and rendering of large numbers of
3D points as camera aligned quads.
However, as much as we earn in rendering and memory optimisations, we lose in
control; ParticleEmitter does not allow for manual placement of particles.
Instead, all particles must be processed through a point physics simulation.
This was the next big problem to overcome, and required abandoning the prior
idea of a pure froxel grid of point samples.
The arrangement of froxels as seen from the camera was non-negotiable - the froxels had to line up correctly otherwise the final image would be far too unstable and unpredictable, leading to many difficulties especially around blending froxels. Notably, the proof of concept did not preserve this, hence why the overall effect is extremely smooth; this was to compensate for uneven positioning.
However, the Z distribution of froxels was malleable; the only difference that the Z distribution made was to change the perpendicular depth of the sampling points, which if formed into camera aligned quads would need to be scaled proportionally to offset the foreshortening effect. This meant that the actual depth of the froxels did not matter, and so imprecision could be afforded here. The only visible artifact would be a slight inconsistency between areas of the rendered image when sampling areas of high contrast, due to sampling different areas of the voxel grid. However, the artifacts should only manifest at low Z resolution, and/or when the far plane is distant compared to the near plane.
All of that is to say that each line of froxels at a given X and Y index can be represented as a single particle system travelling from the near plane to the far plane. The specific perpendicular distances of each point simulated by the particle system does not matter as long as the appropriate size sequence is set on the particle system. This is the approach I ended up using.
One nice side effect I noticed during testing here was that Roblox seems to sample the voxel grid multiple times for a single particle, perhaps once at each vertex if I had to hazard a guess. However, the samples do seem to be averaged at least slightly, so the overall look is still blocky, albeit still representative of the shape of the lighting to some small extent. This has the unfortunate consequence that the way a froxel samples its light is anisotropic, probably, but it probably won’t be noticeable or significant.
Recasting and froxel blending
Now that our light catching quads are positioned appropriately in 3D space and
are sampling the voxel grid adequately, we need to configure them to recast
their light and blend togther in a pleasing fashion. Some of this work is done
for us already; ParticleEmitter performs feathering against the depth buffer
for us as long as the quads exactly face the camera. We just need to figure out
how to make them blend with each other.
It should be self-evident that any order-dependent blending is not going to cut it here. We already sacrificed control over the specific perpendicular depth of our quads long ago, so we’re strictly limited to OIT methods unless you enjoy flickering and shimmering. This rules out traditional alpha blending completely.
However, Roblox does have an order-independent blending mode - additive. Additive blending is technically a form of OIT because addition is an associative operation, so the order of the blended items does not matter. We will employ that here to remove the sorting artifacts from the end result; however, this means that our volumetric lighting system on its own won’t be able to simulate out-scattering or light extinction. Of course, we should note here that our system is also completely incapable of simulating out-scattering or light extinction between light sources and surfaces anyway, but since Roblox’s rendering already sacrifices physics on the altar of graphics, our physical inaccuracy here doesn’t really matter.
Next, we need to smoothly blend our light catching quads together. The quad should be maximally bright in the centre, then gradually trade brightness with the adjacent quad until the adjacent quad is maximally bright. Right now though, our quads don’t touch the centres of adjacent quads - instead, they only reach halfway so that they don’t overlap. The scale can be doubled to address this, such that there’s enough room to completely blend from one quad centre to the next. Note that this will double the amount of overdraw.
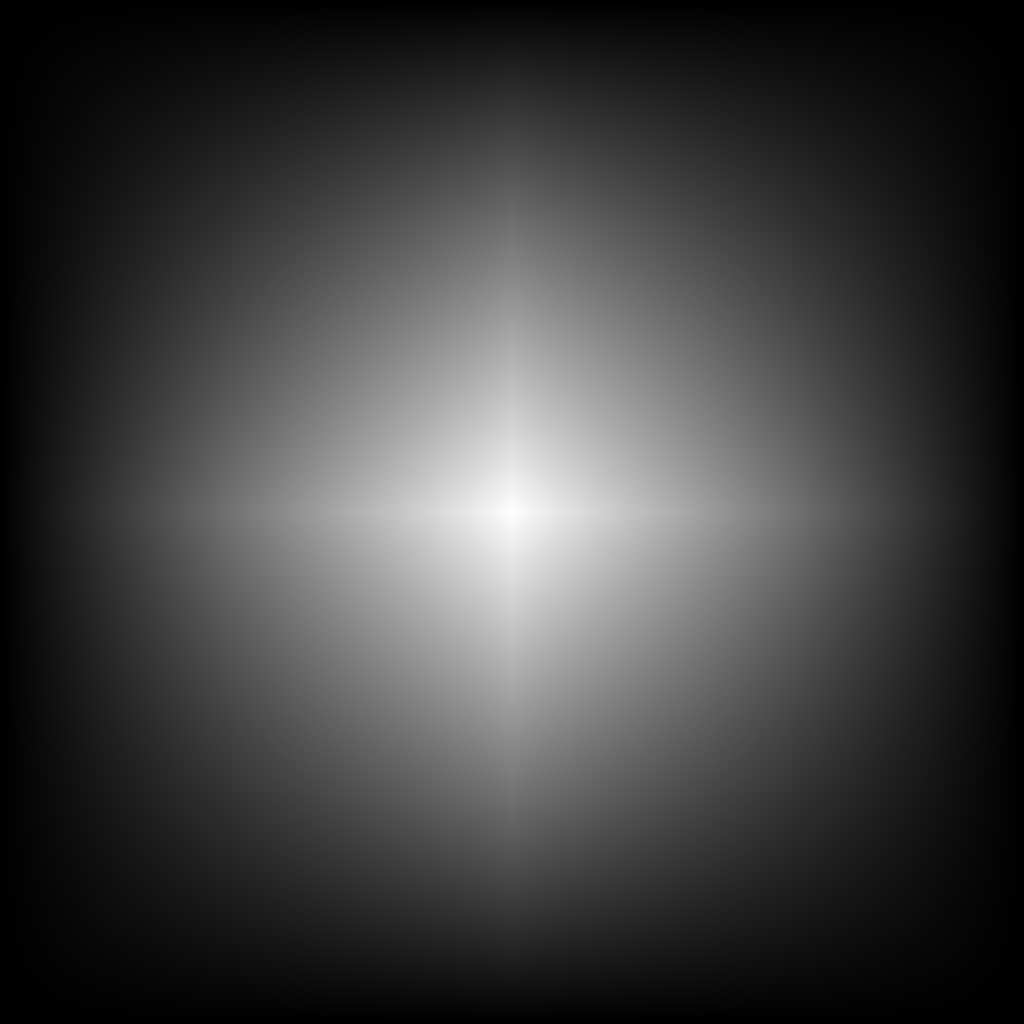
Now to craft the texture for the quads. Consider the square formed by the centres of four quads adjacent to each other. At each corner, there should be maximal contribution from that one quad, and zero contribution from the others. As we move vertically, the contribution should linearly trade off between the top and bottom quads, and as we move horizontally, the same should occur between the left and right quads. In other words, we should bilinearly interpolate the contribution of the quads within that square. It’s simple enough to write a program that calculates the individual contribution for one of the square’s corners, then copy it around a centre point to yield the final quad contribution texture.
By placing four instances of the contribution texture at each corner of the square, assigning each a colour and then additively blending them together, you can see the bilinear interpolation occur:
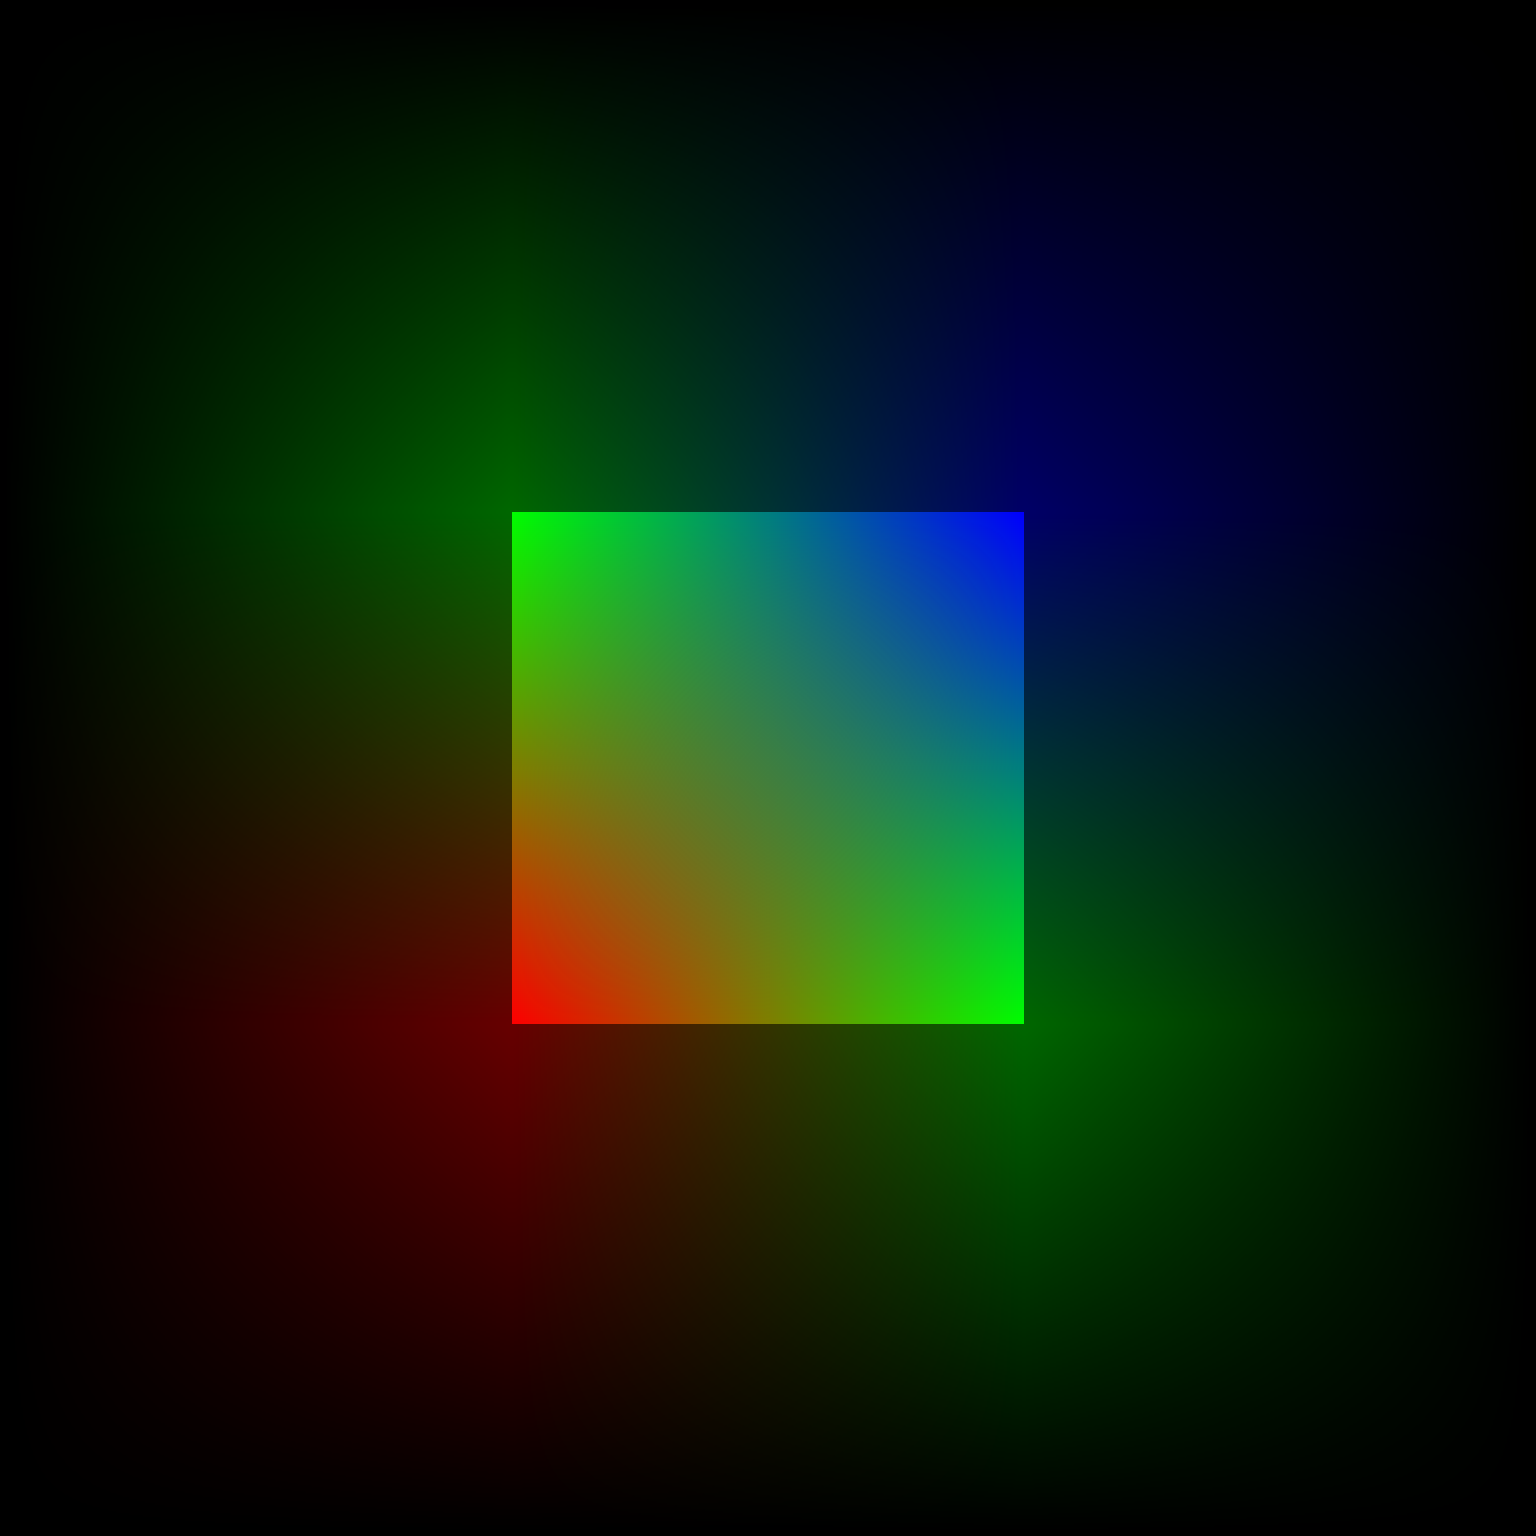
This is what will allow us to smooth out the results of our point sampling. Even if there are step differences between adjacent samples, this interpolation ensures a minimum C0/G0 continuity across the entire cross-section, and as such vastly improves the visual quality of the result.
However, this blending approach is not without issue. The primary issue is that the blending between adjacent samples occurs after transparency has been applied, which means the number of available bits to represent the precise colour gradients needed may be severely reduced. In the worst case, this can lead to serious banding artifacts caused by the finite colour depth of the framebuffer. Discussions about how best to address and mask these issues fall outside of the scope of this post, however, and deserve their own analyses and explanations one day. For the time being, it is left as an exercise to the reader.
The secondary issue is to do with light leaking. As the scale of the quads increase, they can contribute light to areas of the scene which appear further away from the point sample. Since we don’t account for occlusion, it’s theoretically very possible for contributed light to pass through walls and other scene geometry. However, Roblox’s multiple samples per particle, as well as existing light leaking through thin walls in their own voxel representation, effectively mask any leaking that would otherwise occur due to our blending, so the issue is not considered important enough to warrant a fix.
By this point, you should have all of the pieces to assemble a barebones implementation of a volumetric lighting system. It’s far from production ready, and will suffer huge visual artifacting in all but the most optimal conditions, but it should give you an impression of what the technique is capable of.
Demonstration
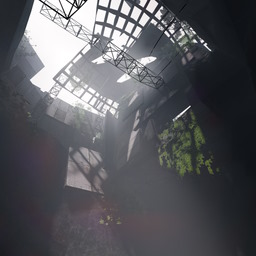
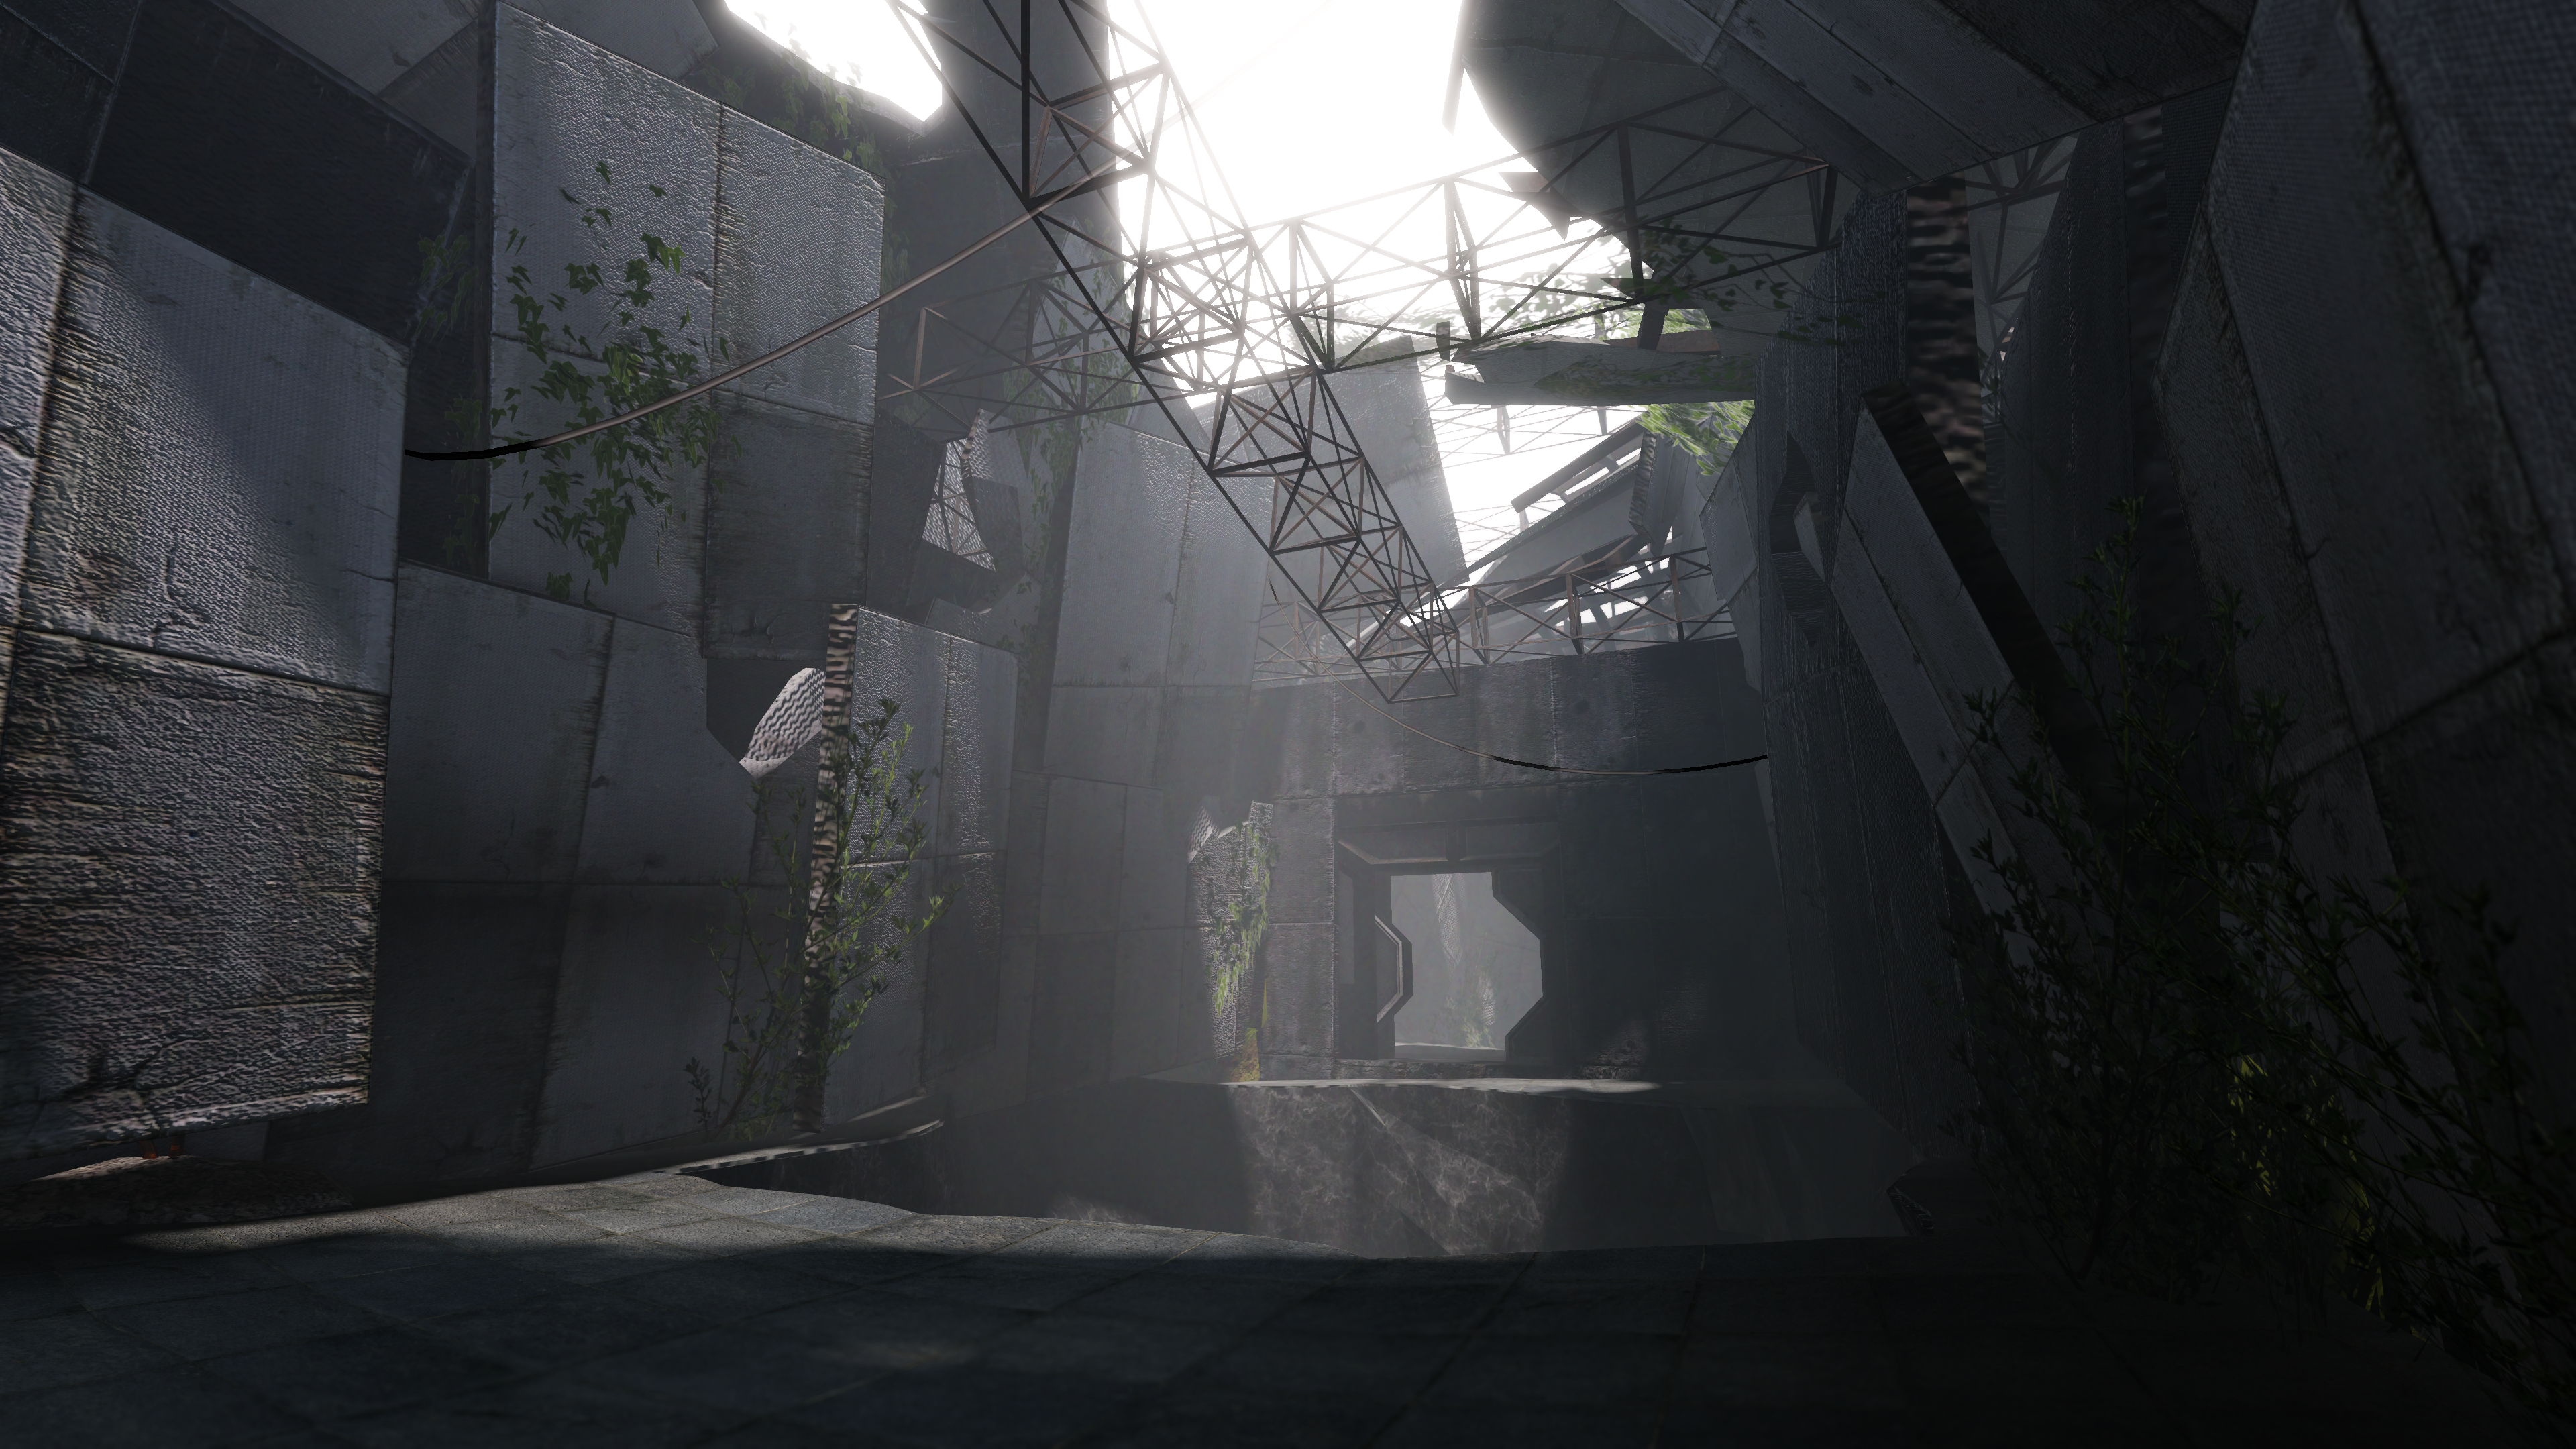
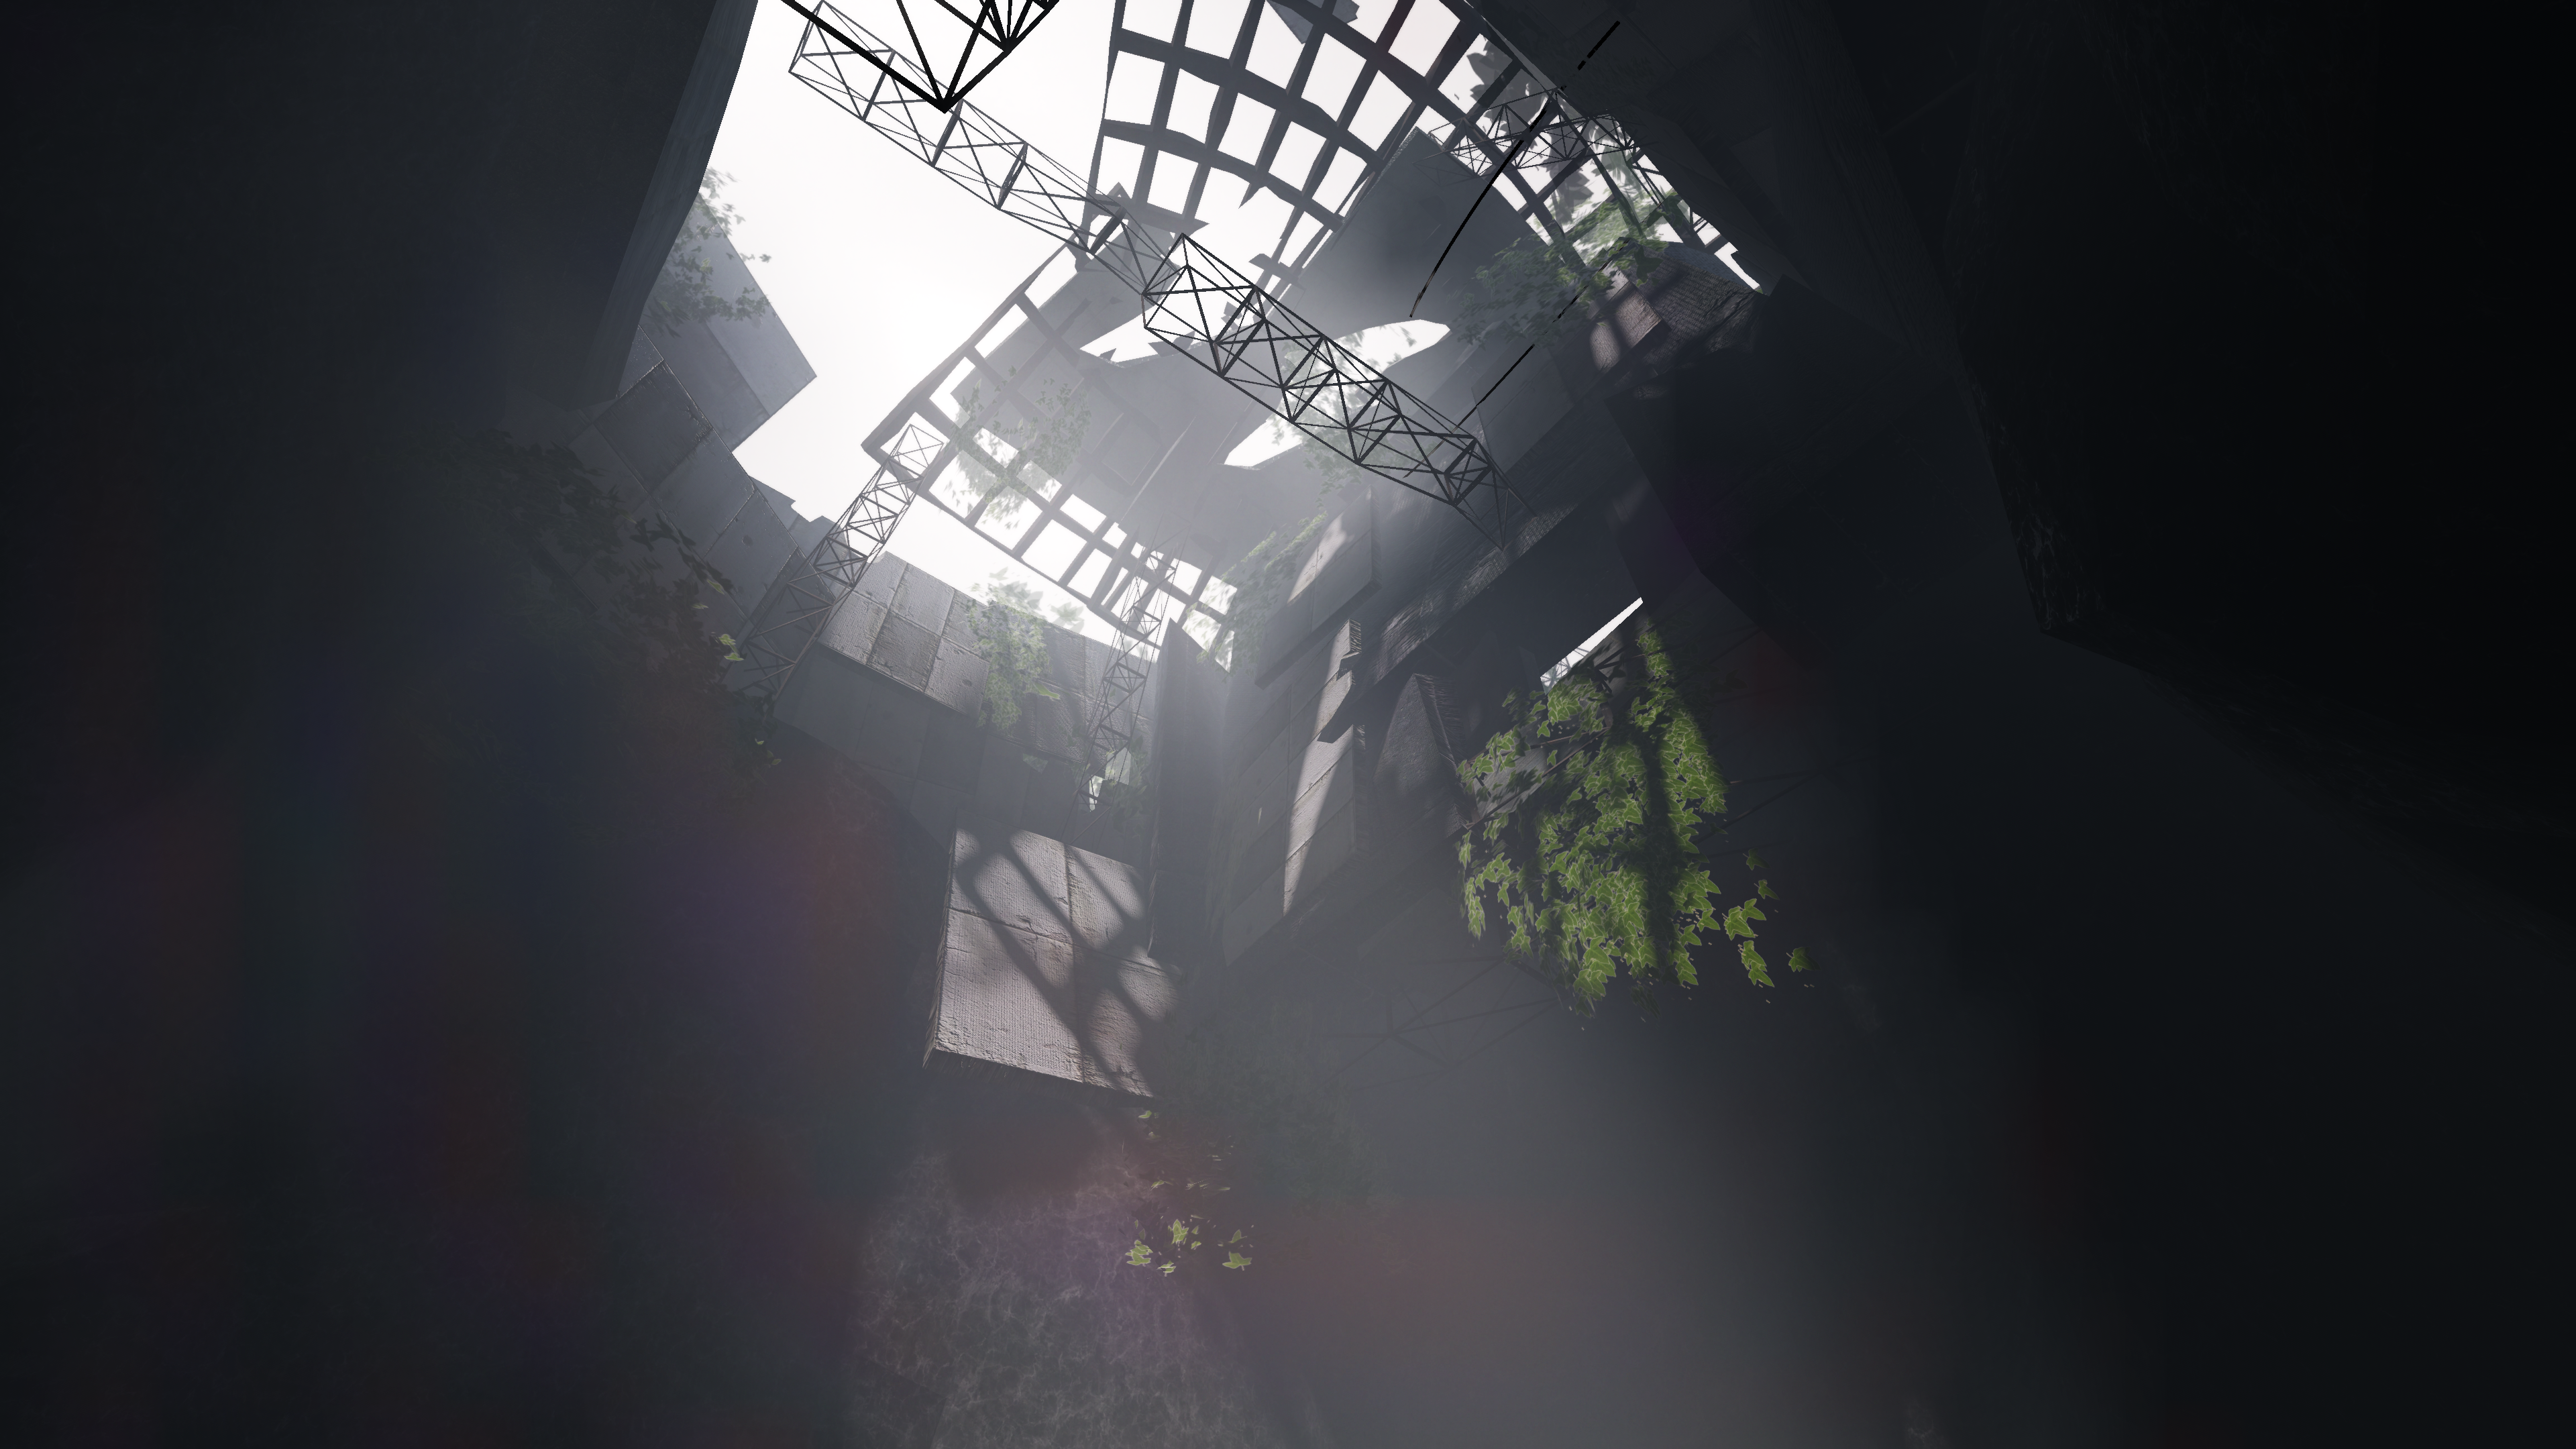
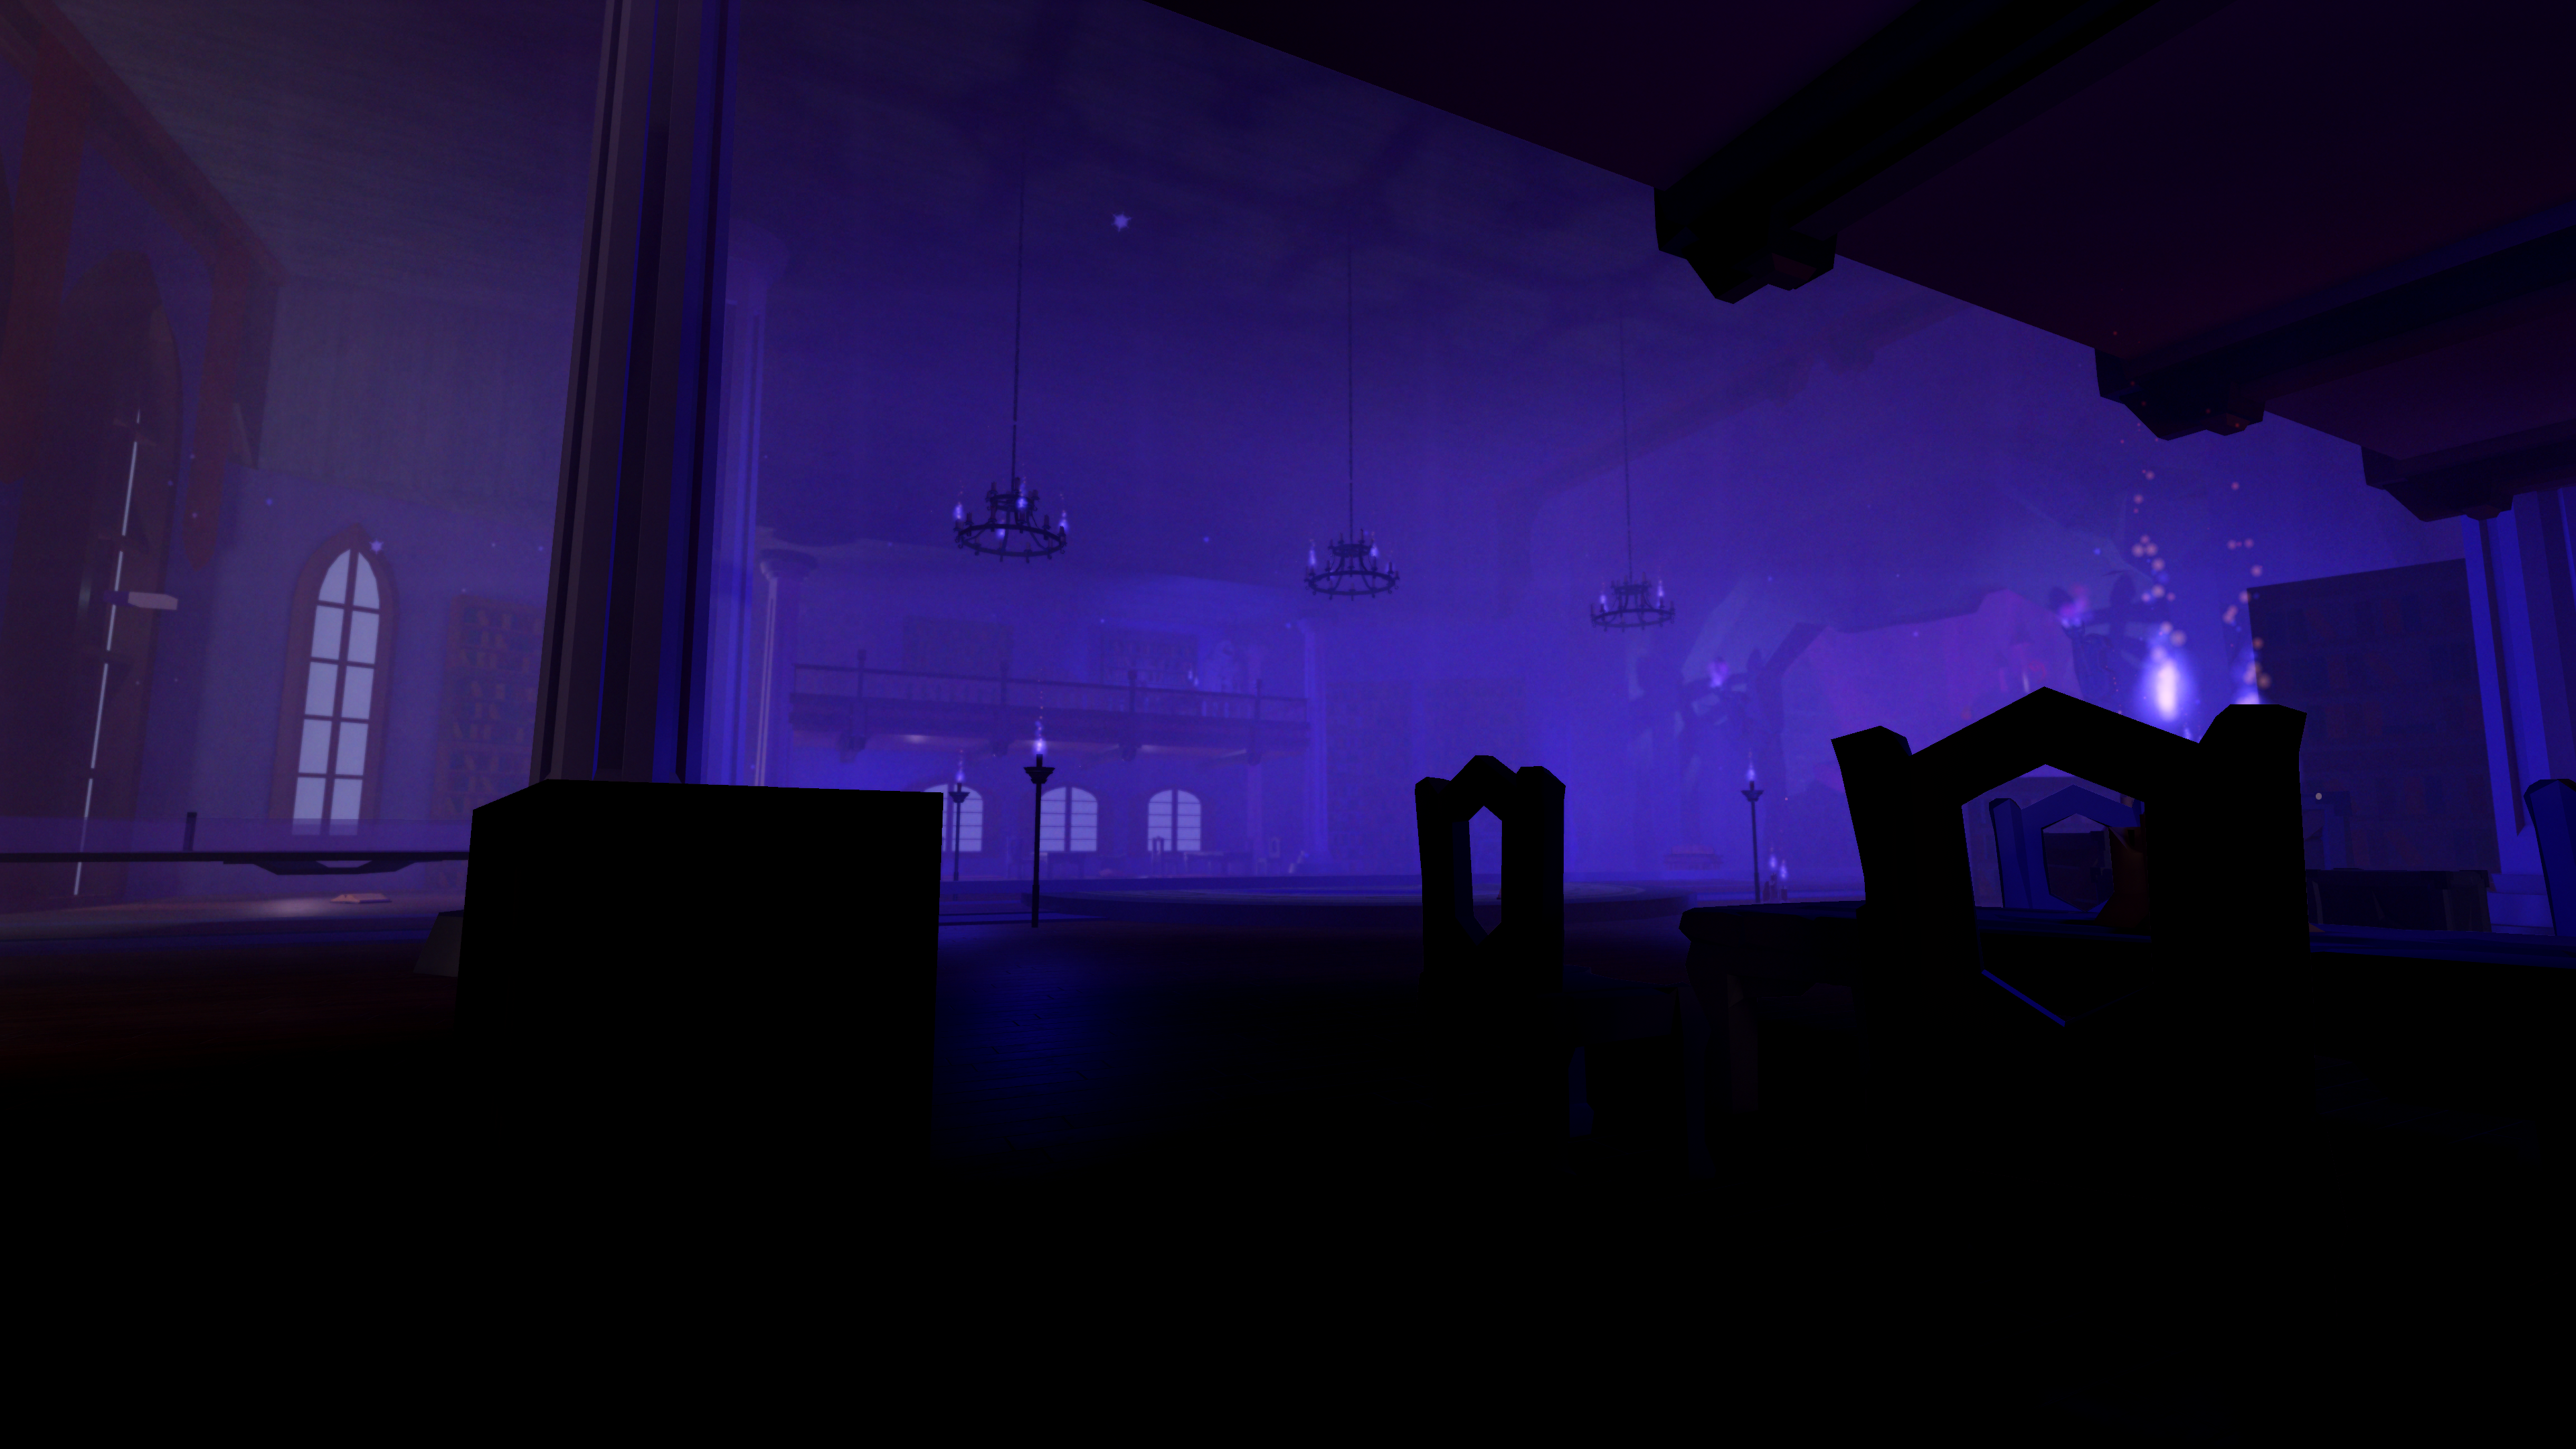
It’s all well and good producing a volumetric lighting technique that works in theory, but my true motive is to get as many people to care about high quality volumetric lighting as possible. The best way to do that is to get people to actually use it, and show that there’s good demand for it. As a result, I’ve poured extra time into making a full implementation of the technique described here, and addressing the various places it falls down using further techniques not described here for brevity. To show you what a full system can be capable of, and hopefully to get you inspired and excited for volumetric lighting, I’ve taken a few screenshots of the full system in action in a few places.
If you’d like to use it in your own game, I’m distributing it under the VOLUMIKA brand name. Check out the promotional page here if you’re interested.
All following screenshots use Future lighting. Click any shot for the full uncompressed 4K file. This blog post only covers a subset of the techniques used in the production of these shots, as mentioned above.
Limitations
As with any technique of such absurdity, this method does have some drawbacks and some pain points.
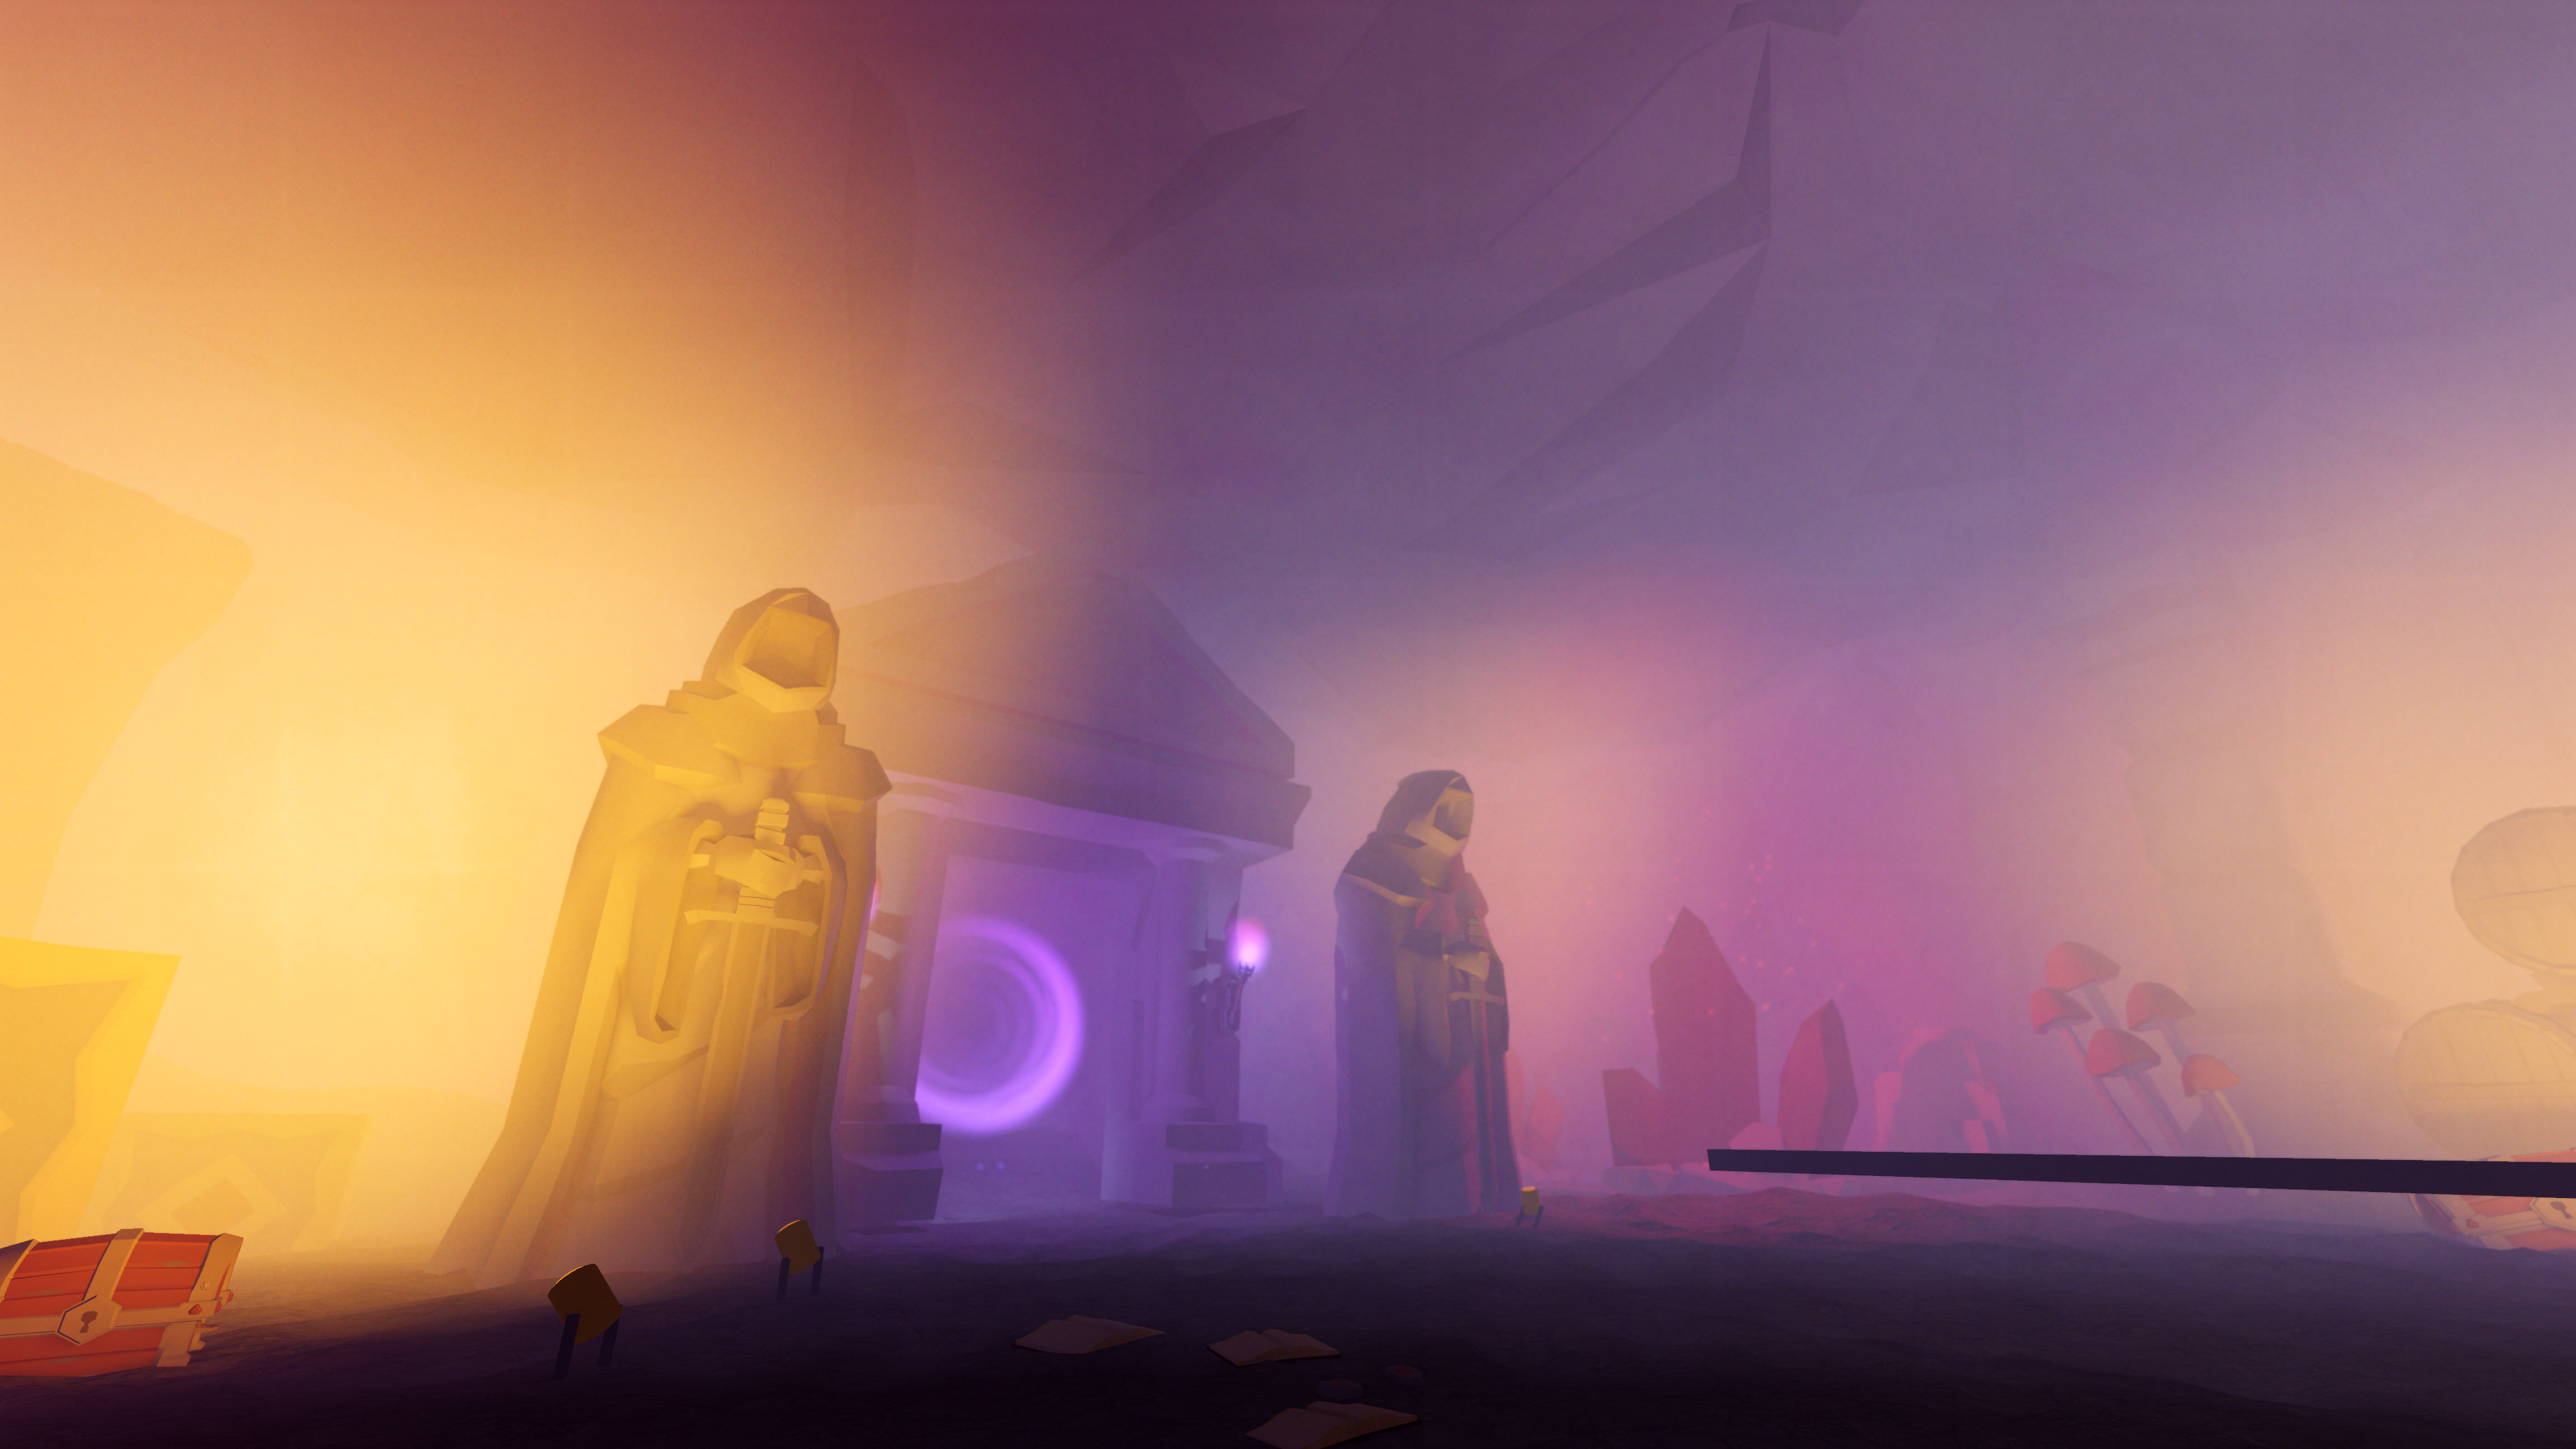
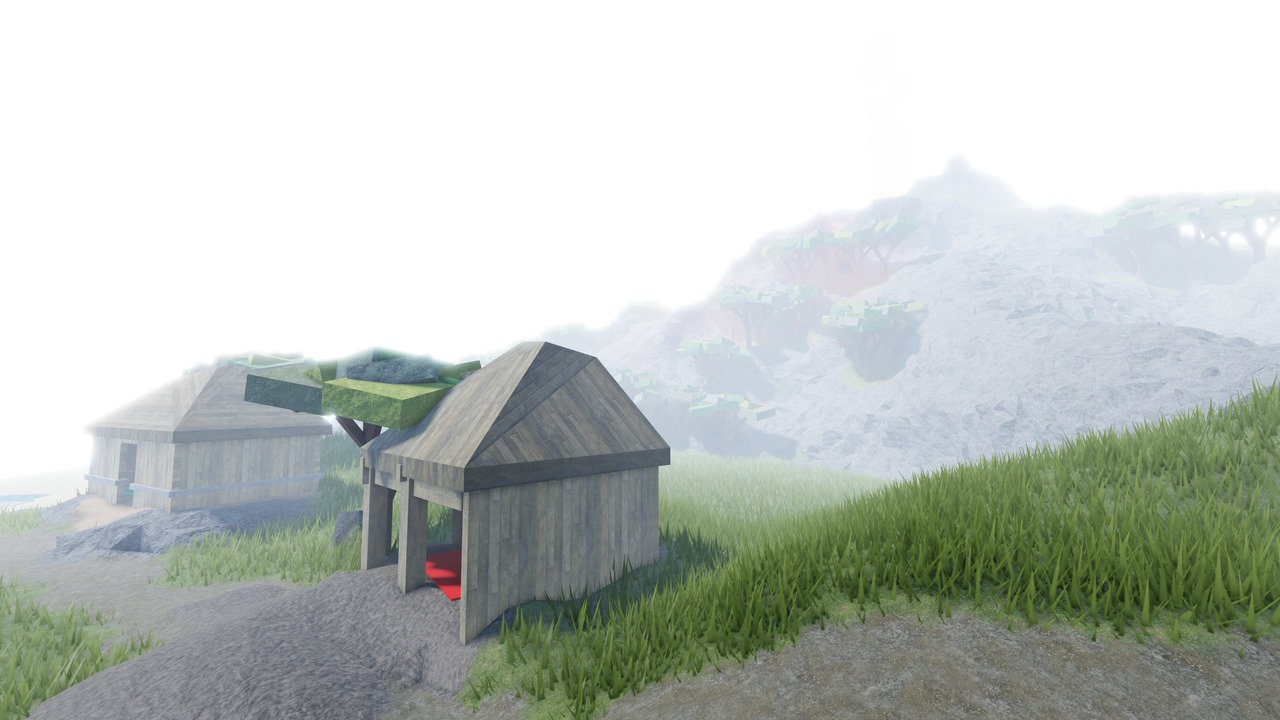
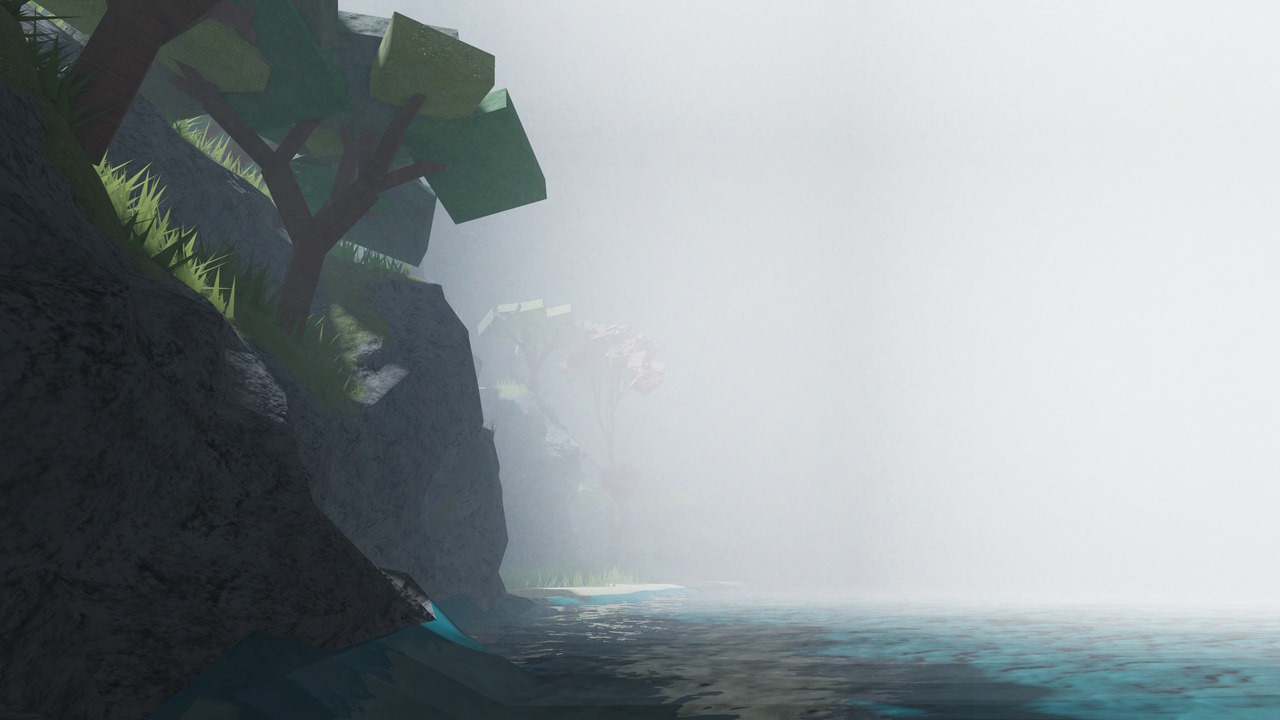
Firstly, as alluded to earlier, all light contribution to the scene is fully additive. This can lead to scenes becoming overly bright and blown out quite easily, because there’s no light extinction to counteract it. This especially hurts outdoor usage and makes it hard to represent denser participating media; this technique is best at representing misty conditions rather than smoggy or thick conditions.
As an example, here’s an outdoor scene with only volumetric fog - the extra light contribution blows out the scene, because the entire fog volume is lit up with bright sunlight.
If you’re looking for a thick foggy look instead, the effects of light
extinction can be partially modelled by fading to black as you progress
through the fog. This simulates light being out-scattered or absorbed as it
travels from surfaces to the camera. This is best achieved by removing any
Atmosphere instance in your place, setting Lighting.FogColor to black,
setting Lighting.FogStart and Lighting.FogEnd to the near and far planes
of your fog frustum, and setting a black skybox. The results are much thicker
looking and less ‘misty’ in nature, though of course these fog settings apply
globally and so may be too heavy-handed for your use case.
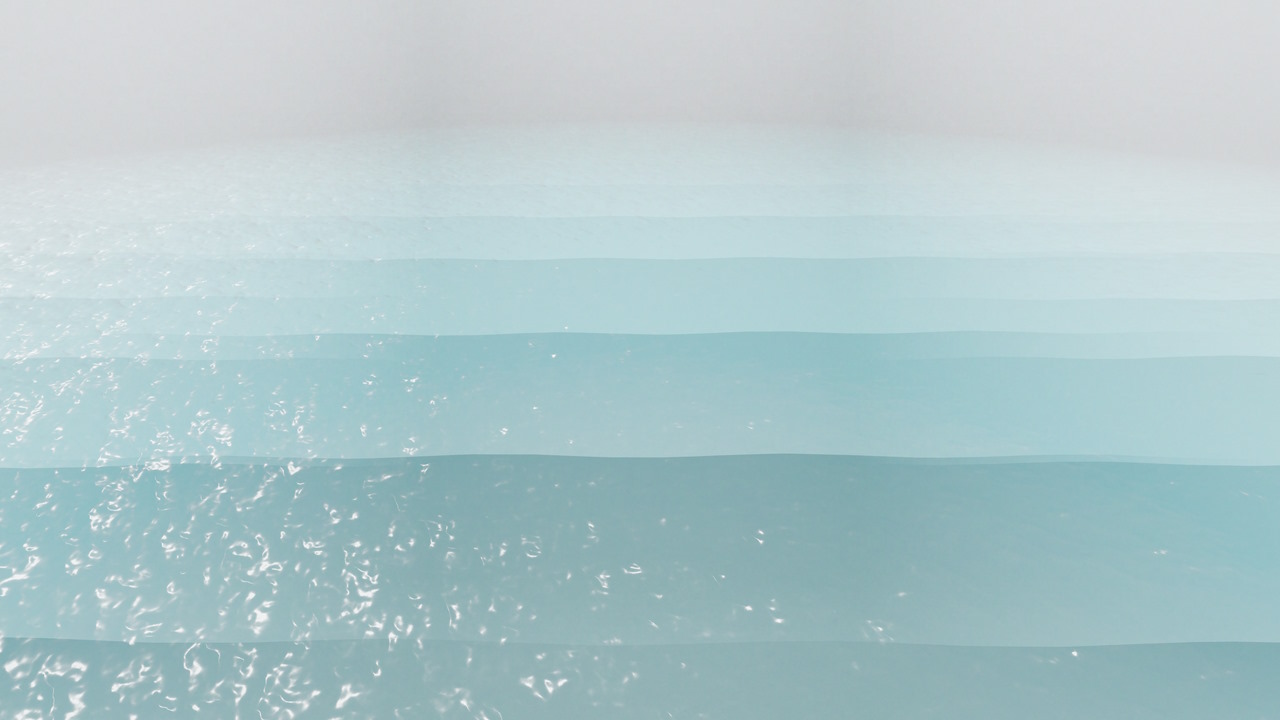
Of course, it wouldn’t be a computer graphics limitations section without
talking about the dangers of translucent geometry. As mentioned earlier, the
ParticleEmitter instances we’re using perform feathering around geometry by
sampling the depth buffer. Translucent geometry, of course, does not write to
the depth buffer. This means that any volumetric fog intersecting with
translucent objects will reveal lines where the quads used for recasting light
intersect the scene. Common culprits here are water, glass, and any part with a
non-zero transparency.
It’s also worth noting the same effect will occur on lower graphics quality
levels, or on mobile devices where there are additional restrictions on use of
the depth buffer. In these situations, the ParticleEmitter depth feathering
effect will switch off and cause these lines to show across all surfaces.
Next steps
As I mentioned before, my true intention with this system is to show the engineers working on the Roblox engine that there’s an appetite for this feature to be implemented officially. My personal stance is that volumetric lighting is the single most overlooked feature of a complete lighting designer’s toolkit, and having any amount of it can instantly bump up the appeal of a scene. It is especially useful when dealing with non-pristine scenes where the air isn’t completely clean, and might instead be carrying dust, sand or snow particles.
The thing I want to point out with this technique is that Roblox has a volumetric lighting solution running on every one of their supported platforms today. All that needs to be done to enable beautiful fog effects is to sample it in a post processing pass - that’s the only thing I’ve had to replicate here. I understand if not all platforms have the required GPU features, but it’s not impossible to gracefully degrade, and it’ll be fantastic for those who play on supported hardware.
It’s true that perhaps the 4×4×4 voxels are somewhat low resolution compared to most volumetric fog implementations, but that’s still plenty of resolution for capturing the most important, broad-scale effects. It’s also true that Roblox’s sunlight calculations are hardly precise. However, especially considering the range of hardware that Roblox targets, high fidelity details can absolutely take a back seat. What’s more important is the availability of the effect at all, because without it, we lose a vital tool.
So, if any rendering engineers at Roblox are taking a glance through here, maybe I could inspire your next hack week project. Trust me, you’d be the community favourite ;)
In the meantime, we’ll keep on abusing the features we do have, in search of the highest quality pixels for the world’s eyeballs.