Many Roblox games use a simple Beam texture to add volumetric light beams to lights, but they only look good from the side. I improved them to look more convincing above and below, too.
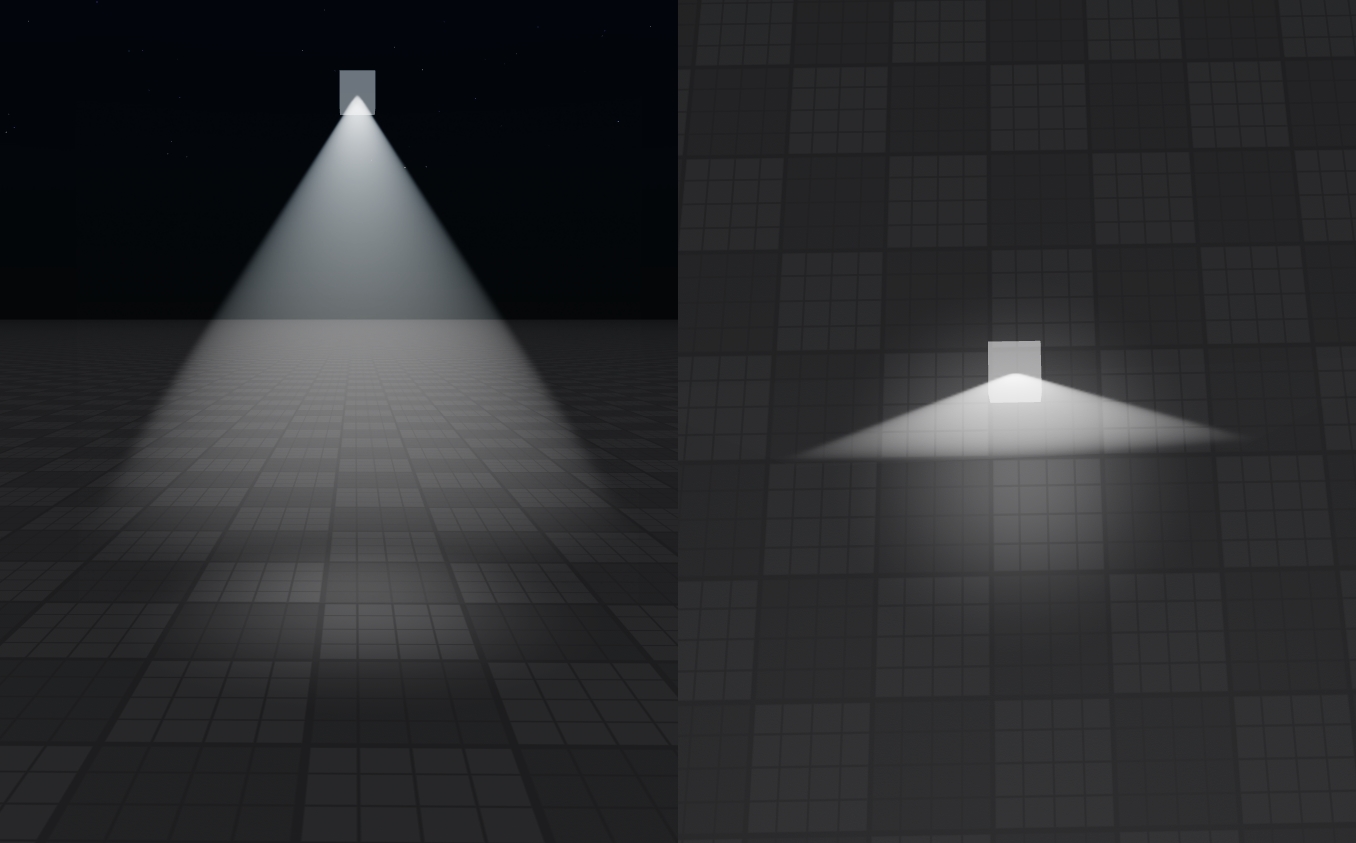
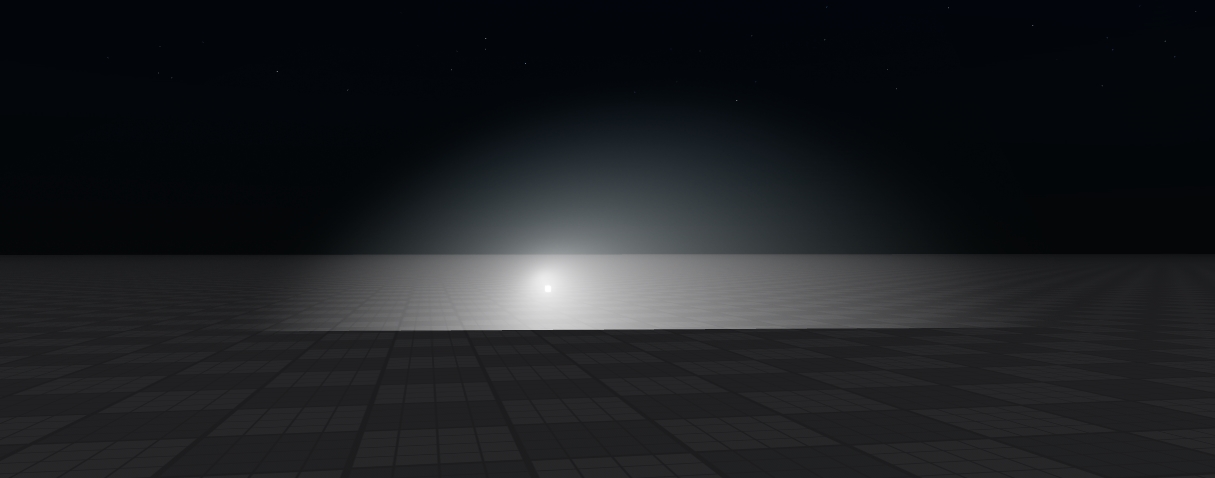
For reference, here’s how regular Beams look like from the side and above:
I wasn’t happy with this solution. Since I’ve been working on a fair few VR projects and prototypes, I need to build my worlds with the expectation that players will see these volumetrics at closer distances, and will view them from all sorts of angles. We cannot assume that the camera will always be in one predictable location. Furthermore, even if card-like fog looks acceptable on a flat screen, it’s downright distracting and immersion breaking in VR.
Identifying the problem
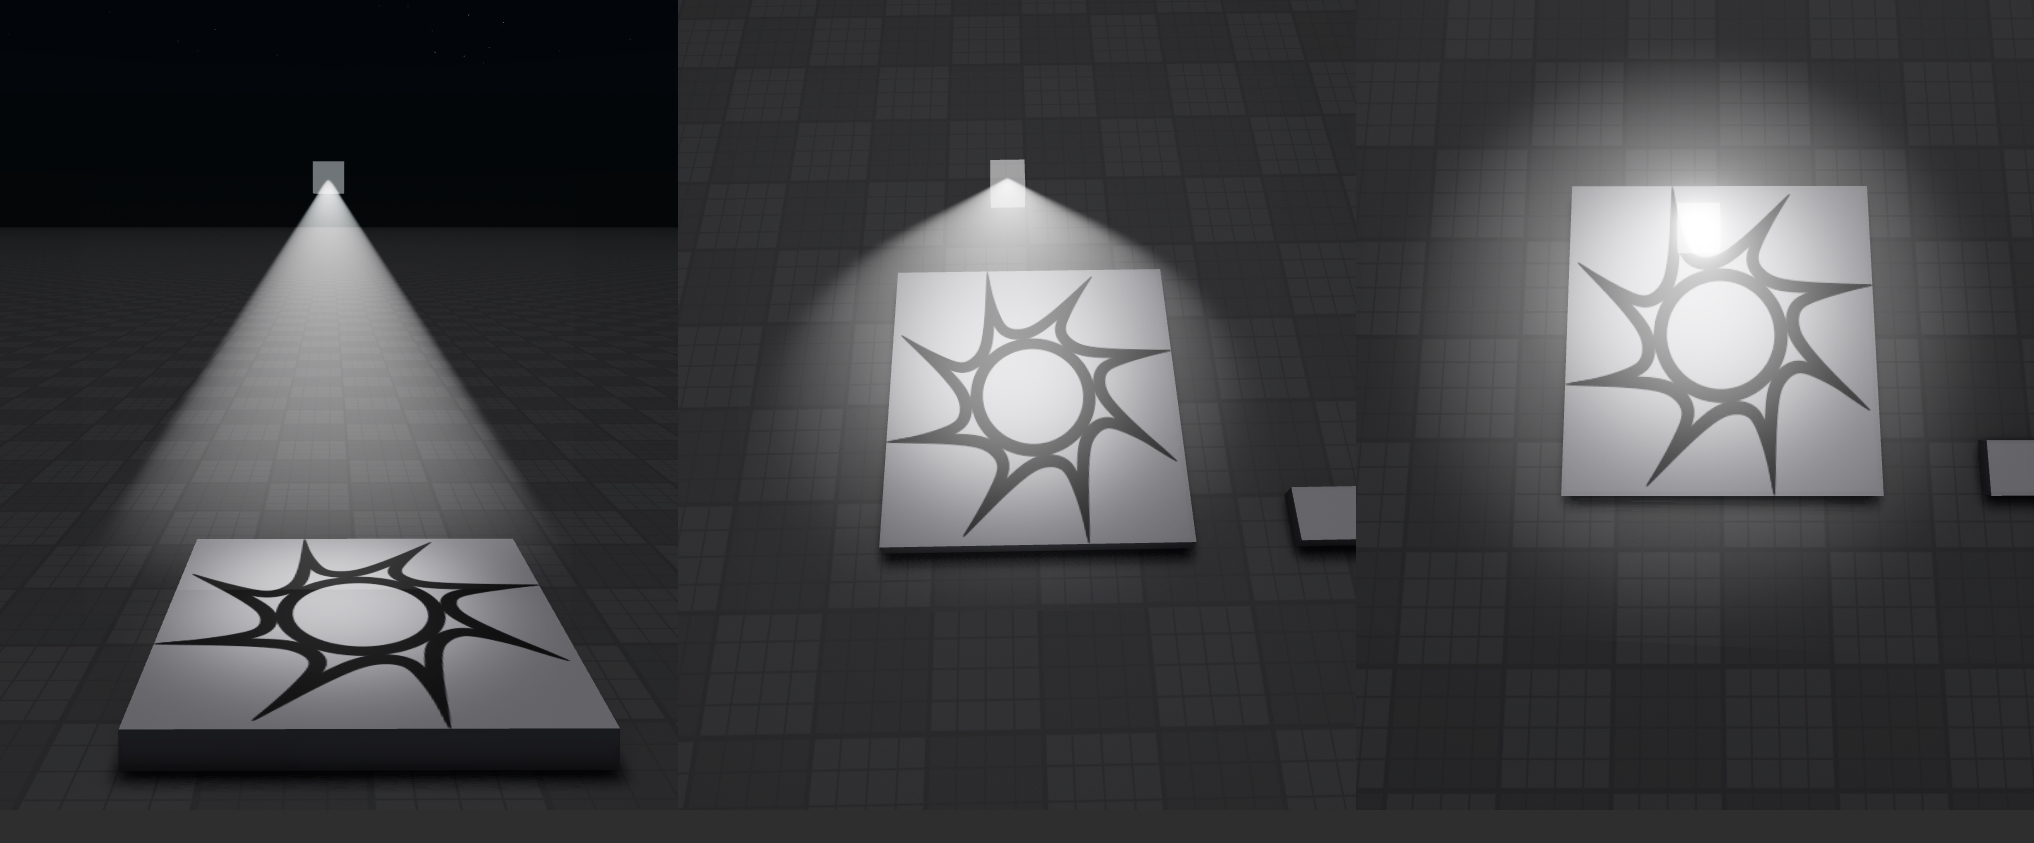
The above beam texture represents a side view of a spot light shining through some fog. This looks relatively accurate when viewed from the side. However, as your viewing angle changes relative to the spot light’s orientation, the shape of the beam changes dramatically.
The existing technique is unable to represent this shape change. The most it can do is keep the texture upright and allow it to distort as the camera rotates to more extreme angles. While this keeps the beam connected to the light, and keeps it somewhat aligned with the area the light is illuminating, it reveals the card-like nature of the texture and how it rotates to face the camera at all times.
Impostors
This problem reminded me of another card-like rendering technique that needs to handle different appearances at different viewing angles - impostors. These are often used in open world games to replace complex models with flat images when they are viewed from far away. This can improve rendering performance significantly, especially when used with highly complex scenes such as forested hills.
Impostors work similarly to the existing beam method. They display a flat card facing towards the camera. The difference is that the texture on the flat card is dynamically generated or chosen from a spritesheet to match how the object would appear from that angle. This allows you to approximate the appearance of the object much more closely, regardless of where it is in your field of view.
Usually, impostors are used to improve performance. However, I’m going to be using impostors to present something otherwise unrenderable in Roblox. Instead of attempting to make something that looks like fog, why not render actual volumetric fog in Blender, and transfer it into Roblox using impostors?
Texture generation
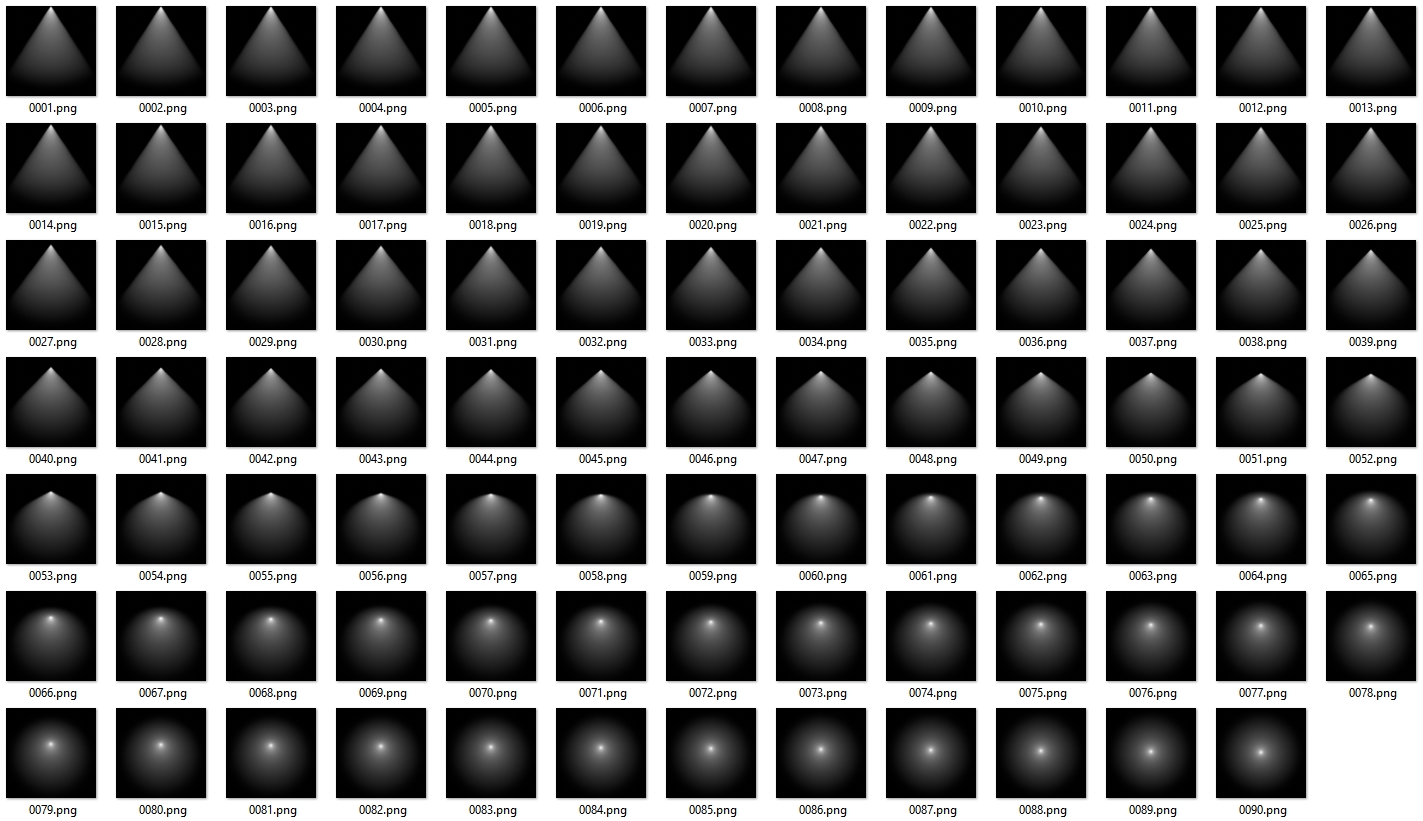
To generate my textures, I set up a simple rig in blender that renders a spot light inside a fog volume. I made sure to turn off any colour management options and set the cameras to render orthographically to get the cleanest results possible.
Knowing that spot lights are rotationally symmetric, I only generated textures rotating the light from side-on to head-on. Furthermore, since I’m using orthographic projection, I can re-use the same textures both when viewing the light from above and below.
To make the most effective use of texture space, I do not centre the textures around the spot light. Instead, the textures centre on a point halfway between the light and the outer radius of the beam. This naturally positions the light at the top of the texture when viewed from the side, while still allowing the light to shift towards the centre to make room for the more circular fog when viewed from the top. It also relates the position nicely to the angle, in a way we can easily correct for with a touch of maths later.
I don’t care about performance or memory usage right now, so I just generated
90 separate 1024x1024 textures. I’m just tossing them in my local content
folder so I don’t have to bother uploading them to Roblox.
If you wanted to implement this in a production setting, I’d suggest using fewer, lower-resolution textures, and perhaps compiling them into a spritesheet.
Beam setup
Instead of using a Beam with two fixed attachments, I’ll be moving and rotating the attachments around via scripts. The intention is to use the Beam to create a square quad that always faces towards the camera’s world position.
In addition to facing the camera, we should also shift the pivot point of the
quad based on where the light source will eventually appear on the texture. This
is easily done by figuring out the dot product between the direction to camera
and direction of the spot light, passing that through acos to find the angle,
and passing that into (1 - sin(angle)) * (size/2) to figure out how far to
shift the pivot point from the centre of the quad.
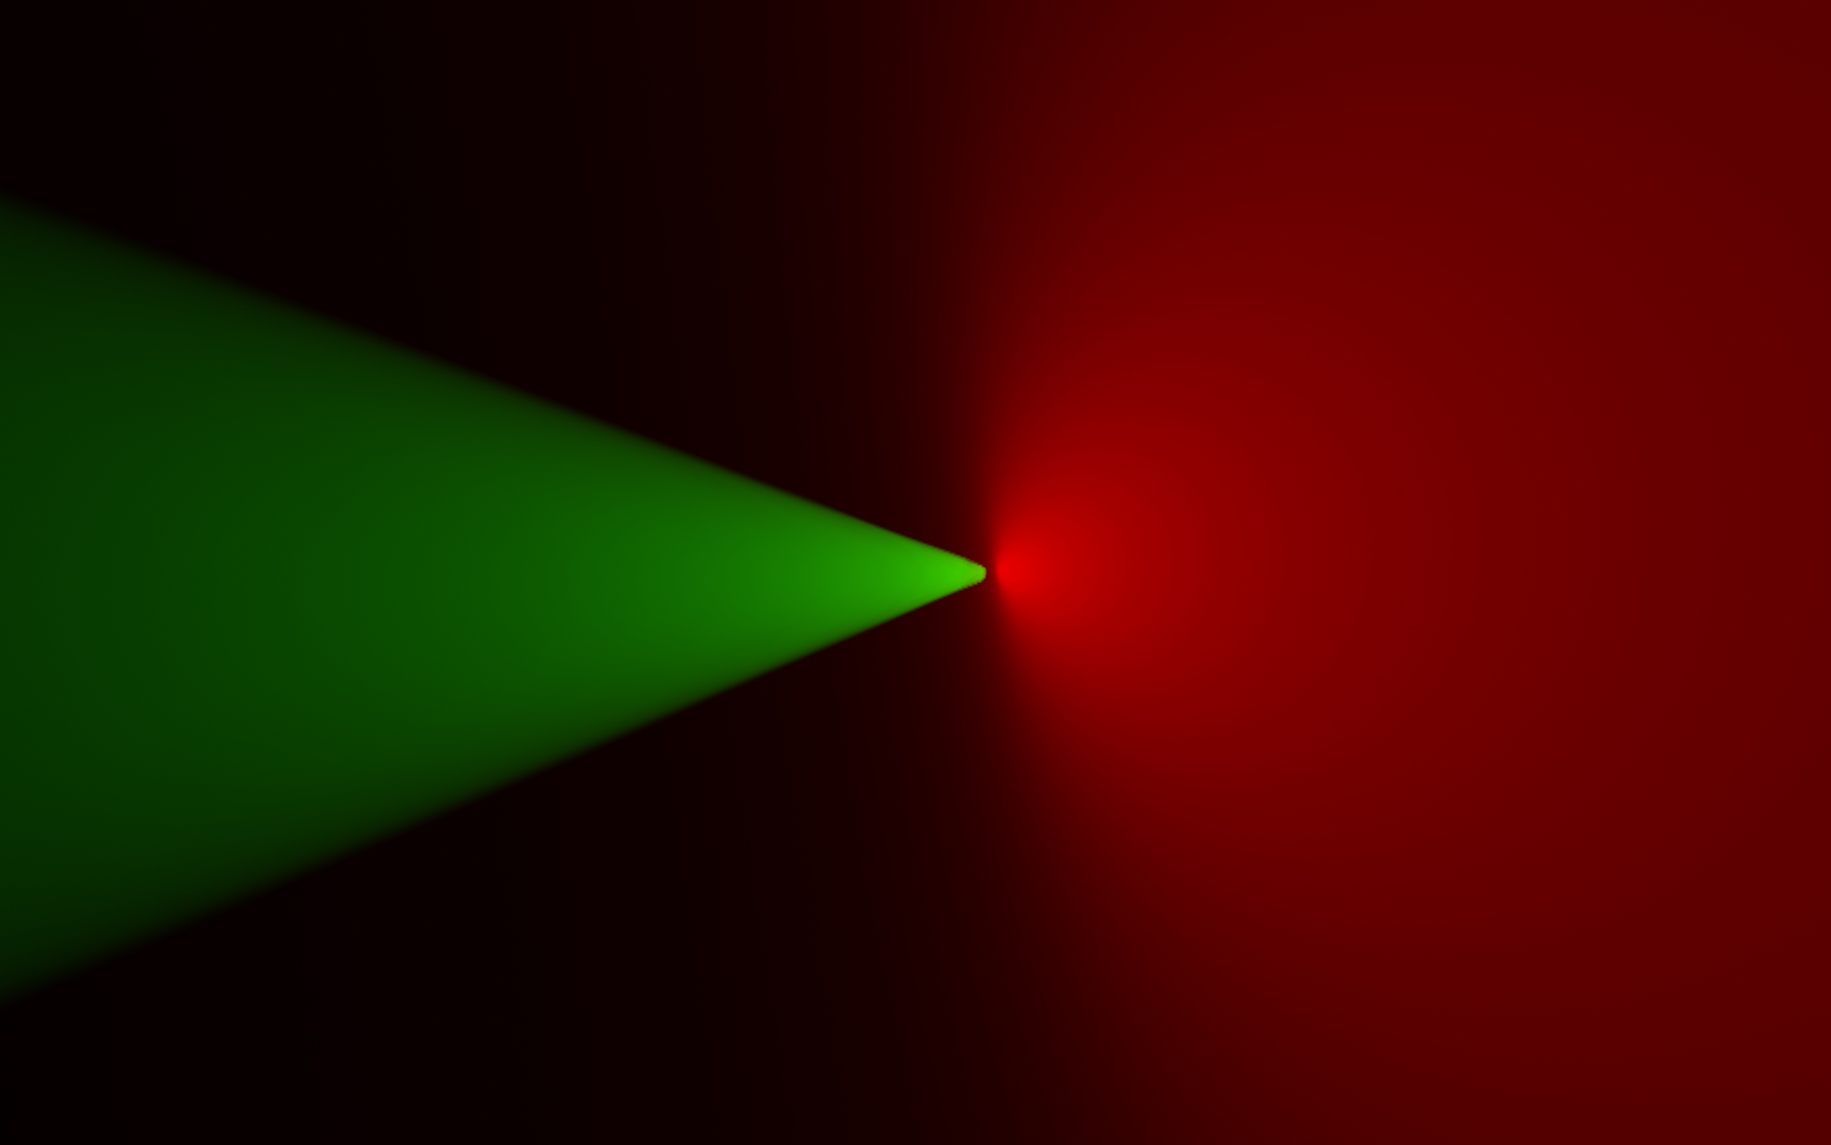
It’s important to use the direction to camera here, and not the camera’s look vector. If we used the look vector, the beam would not rotate when it appears at the edge of the frame. Using the direction to camera instead, the beam naturally rotates towards the vanishing point, which helps to evoke a sense of depth and parallax.
The rotation of the quad as the camera passes above should not be a problem, because the shape of the fog as seen from above should be rotationally symmetric.
Now, to select the correct texture to display on the beam, we calculate which image to use based on the angle we previously calculated for the pivot point. Remember that we can mirror this so that the same textures are used when looking from above or below. If you’re using fewer textures, you could additionally fade between them for a smoother look with less noticeable ‘stepping’.
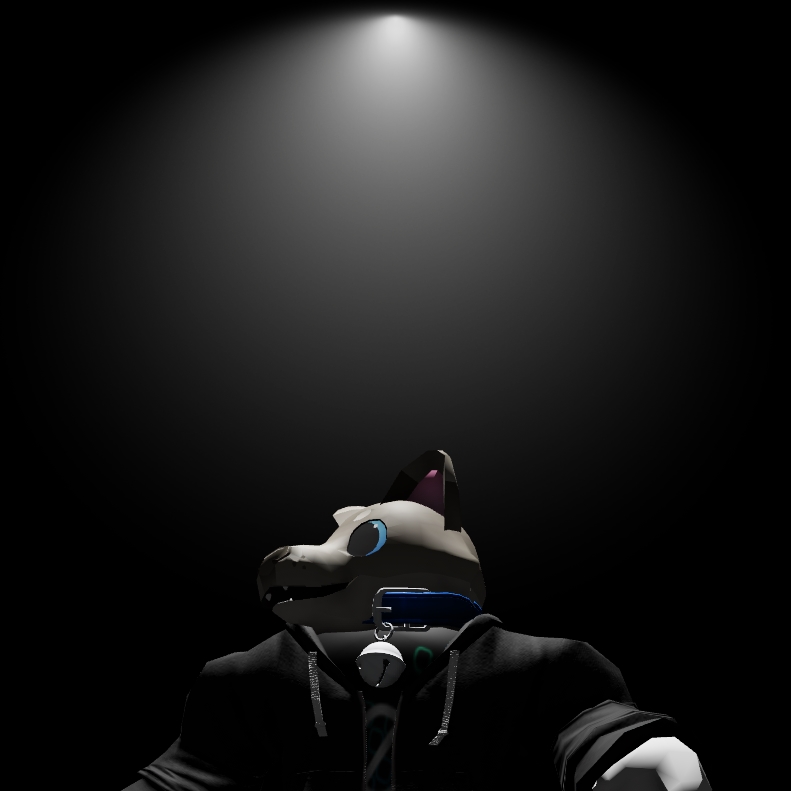
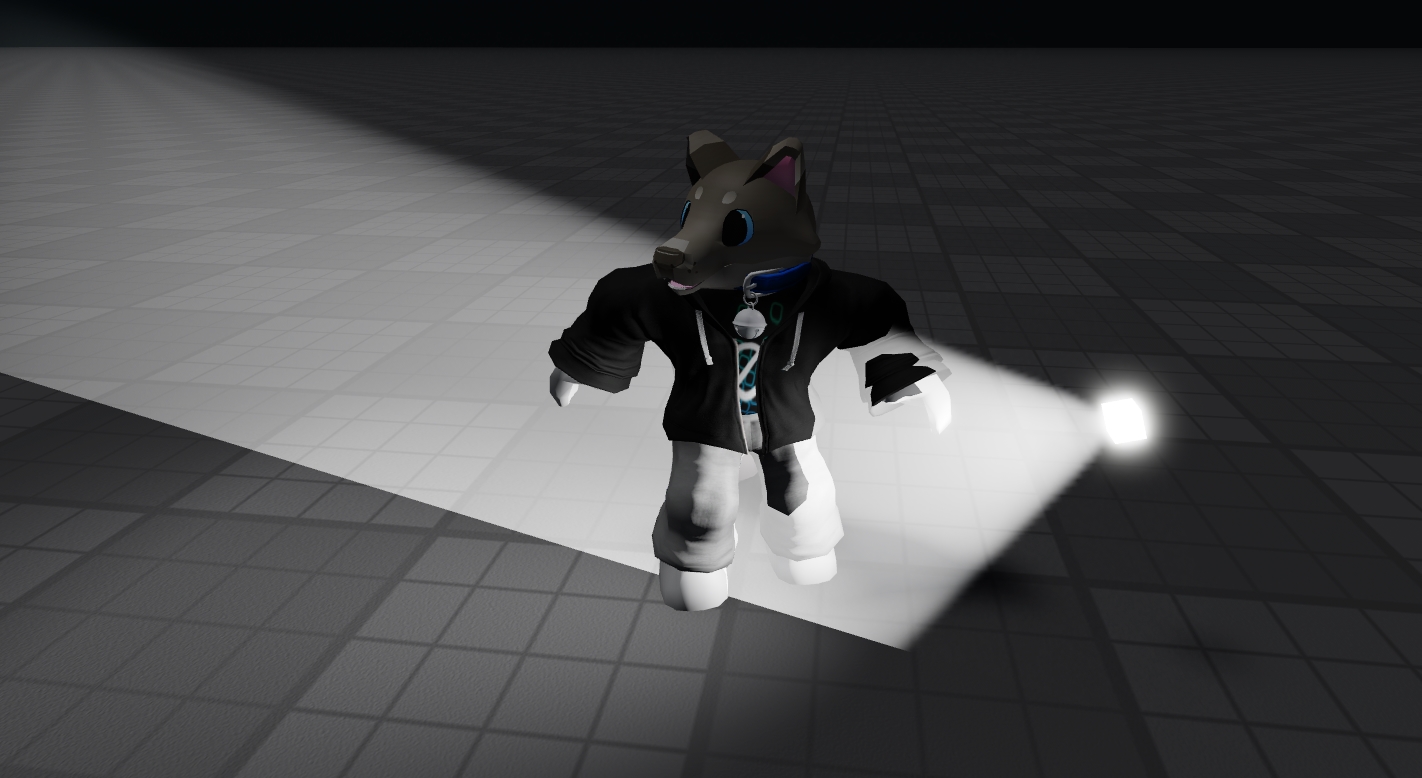
That yields the final result - a much more believable and natural looking volumetric light beam that could easily be mistaken for something properly 3D. It looks astonishingly and unbelievably realistic in VR, even - and that’s the hardest place to make flat card effects work!
Limitations
As with regular Beam-based volumetric lighting, you have to be careful about surrounding geometry. Because this is still fundamentally a flat card, objects don’t intersect well with it. Anything in front of the spot light will occlude the volumetric light too. This is especially dangerous for large lights.
Of course, it also doesn’t support shadow casting. People or objects standing in the light beam don’t cast long shadows, they just look a bit odd.
When viewing a light source up close, but near the edge of the screen, the approximation gets worse because of perspective distortion.
When the light source is far away, the image is much more stable. This is because the cone of light is less distorted by perspective, and is much closer to orthographic. This better lines up with the textures we’re using and causes less extreme changes in angle.
Conclusions
I don’t think I’m going to explore this idea much further. This is the perfect solution for lights that are out of the way of geometry (streetlights or overhead lighting), or lights which appear far away (anything in the 3D skybox). If you need volumetrics there, this solution is effortlessly performant and looks damn near perfect to any average pair of human eyes. Go use it, credit me if you want, have a blast!
That leaves the diabolical cases where you’re illuminating fog in enclosed spaces, for example shining a flashlight inside of a dusty room. For this to work, we really need a volumetric solution that can respond to the geometry that it’s intersecting with. Bonus points if it doesn’t leak through walls.
I haven’t really found a satisfying solution for that yet.